Creating a Project to be Labelled
Creating a Project
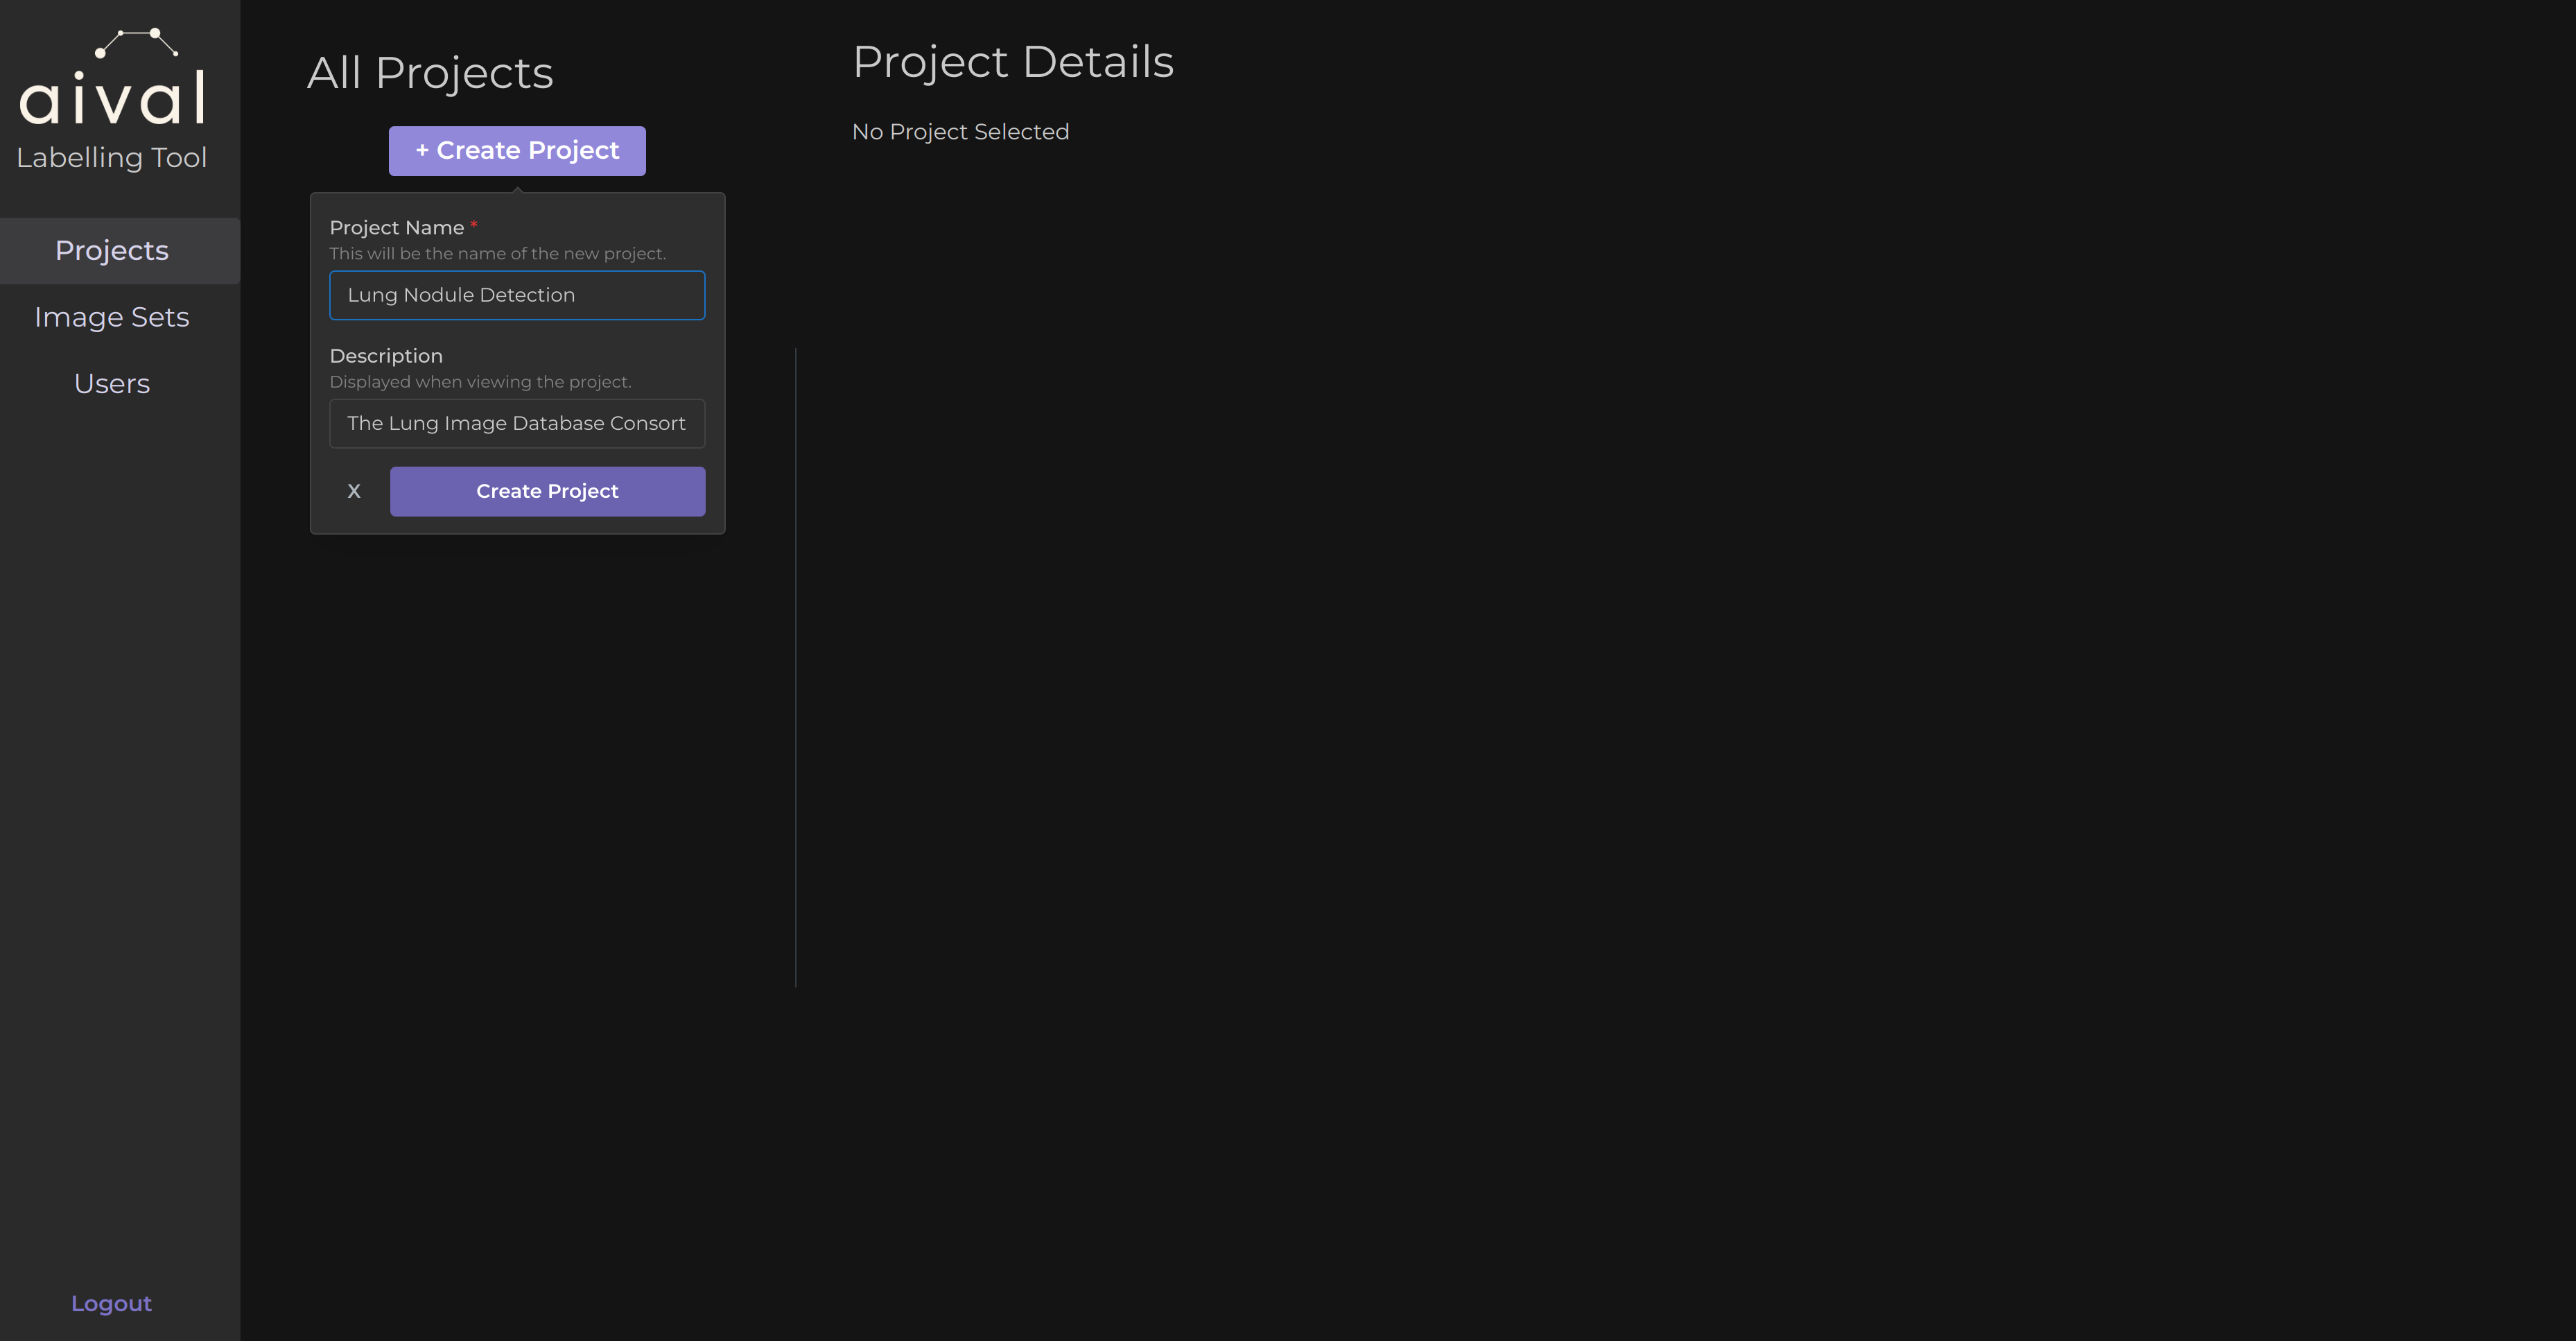
Once logged in as an Administrator, you will be able to add a project, add image datasets to a project and add different user accounts to label the images in a specific project. To create a project you will need to go on the 'Projects' Tab, and then click on the 'Create Project' button. A pop up will appear for you to add the name of the project. For this example I will name it 'Lung Nodule Detection' and I will also add a description for this project.
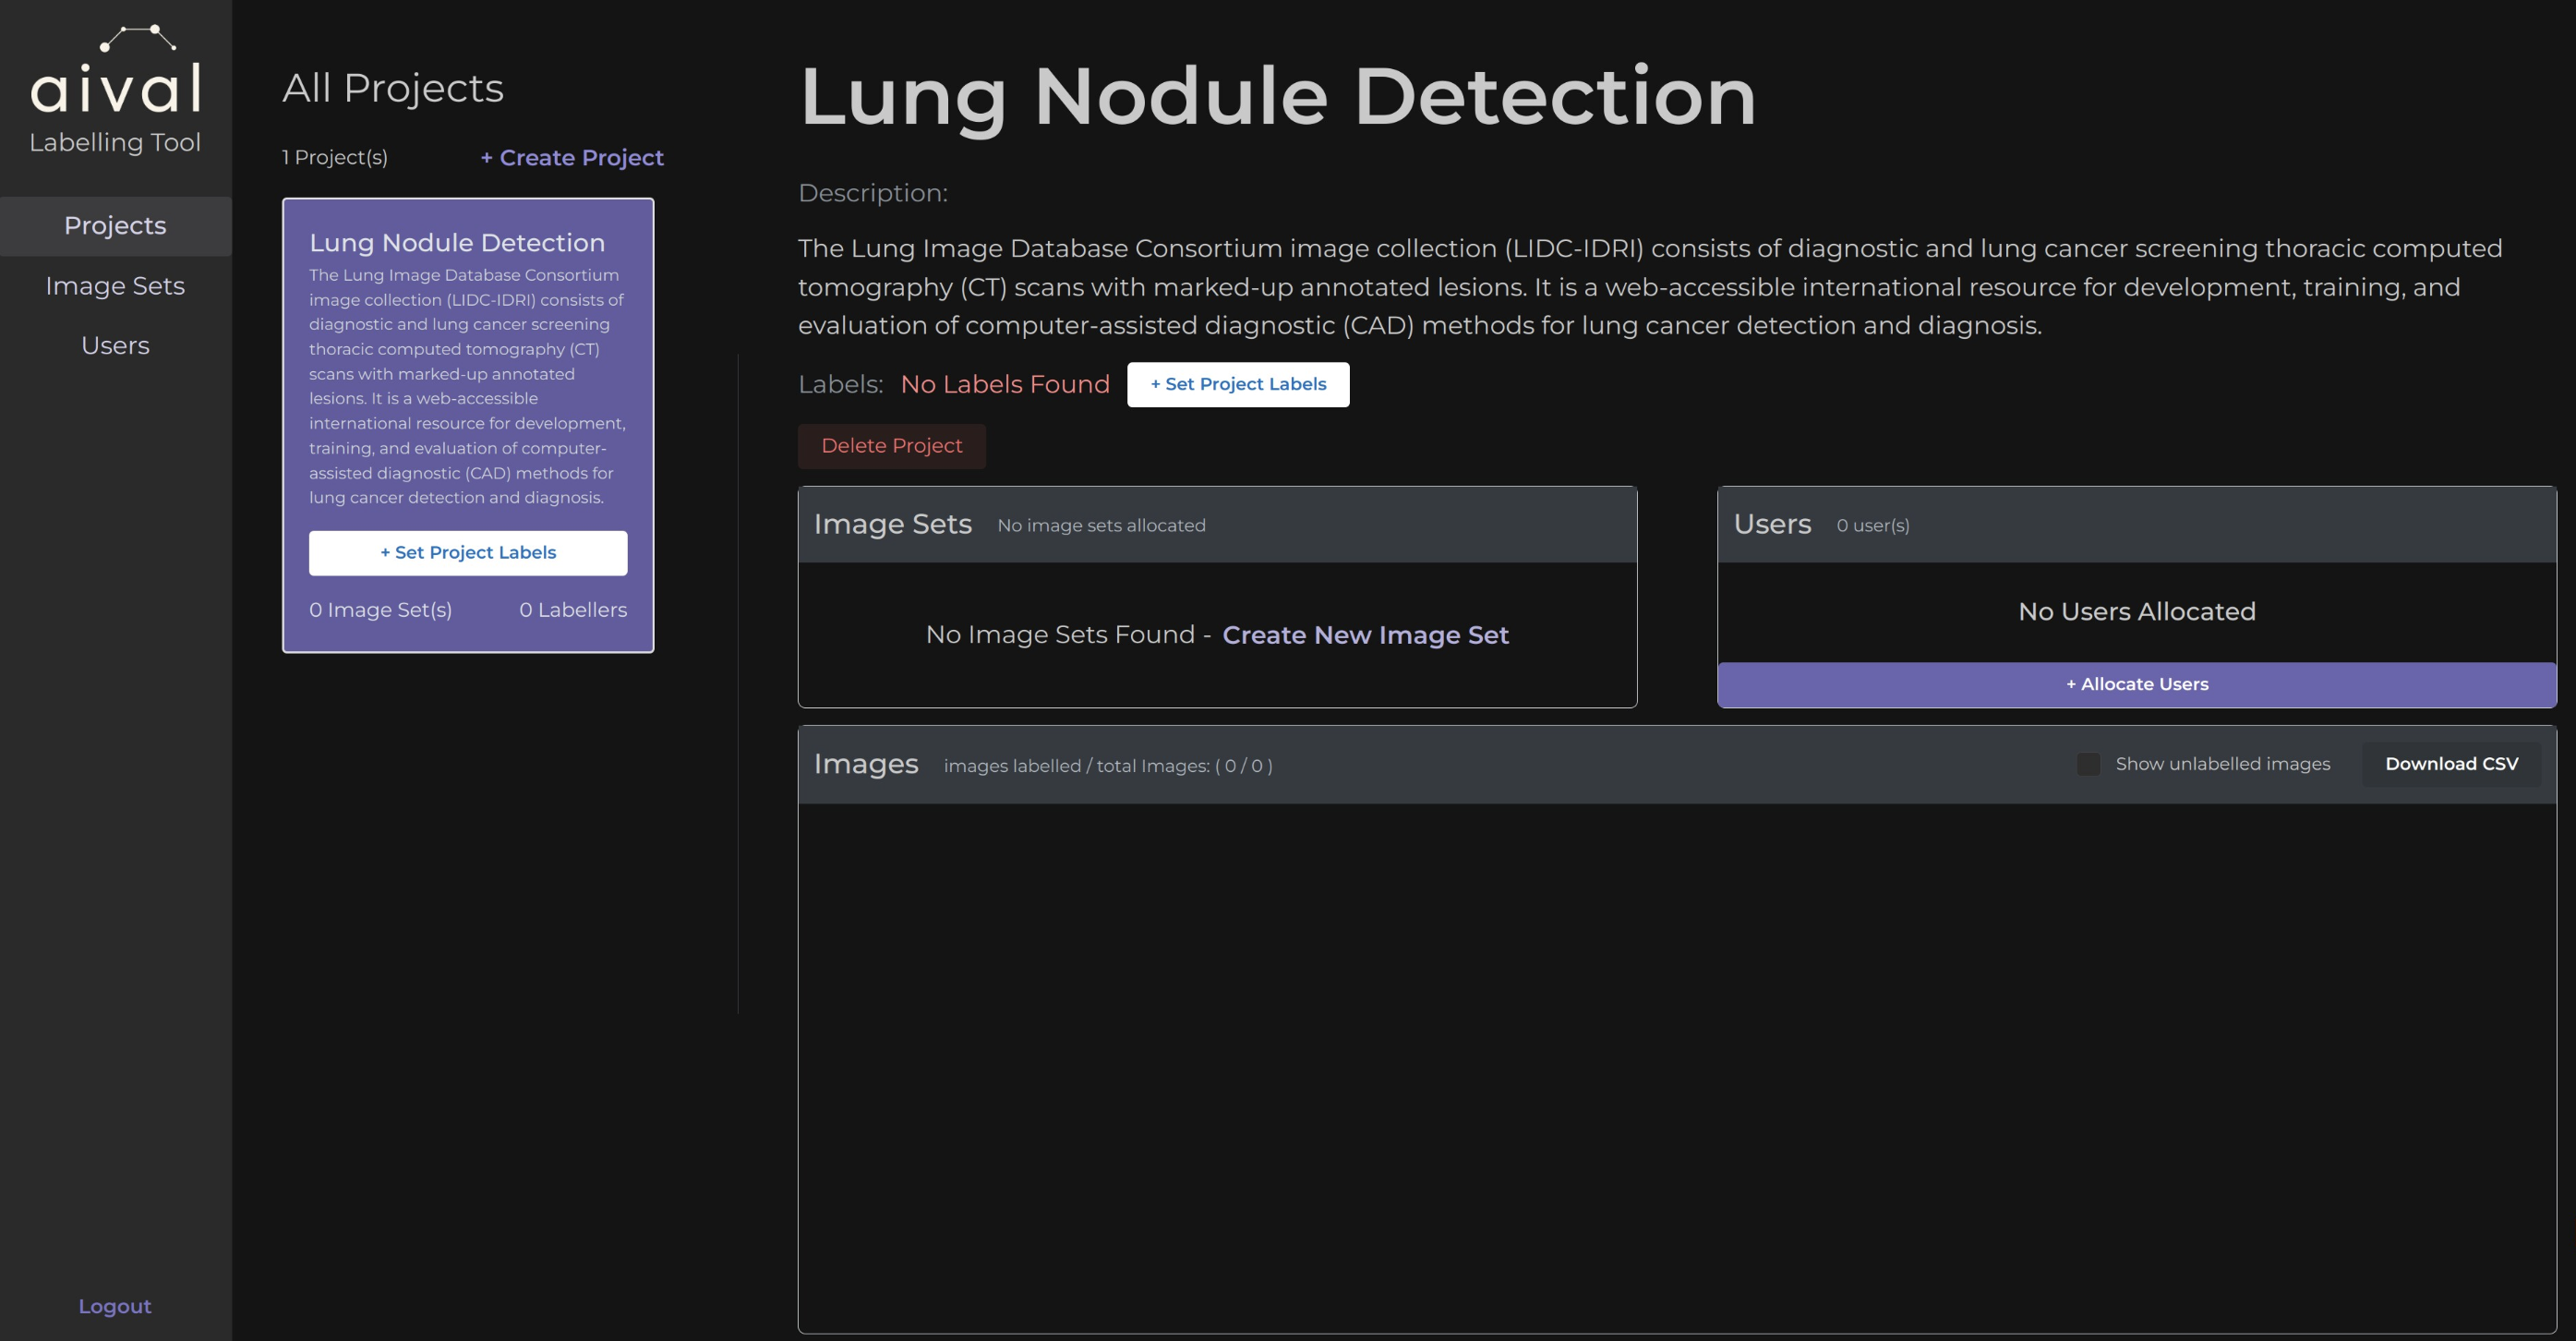
Once I've clicked on the 'Create Project' button, the project will be added to the project records. Now I will be able to see it in the 'Projects' Tab.
If you were to log out and log back into your Administrator account, the project will still remain.
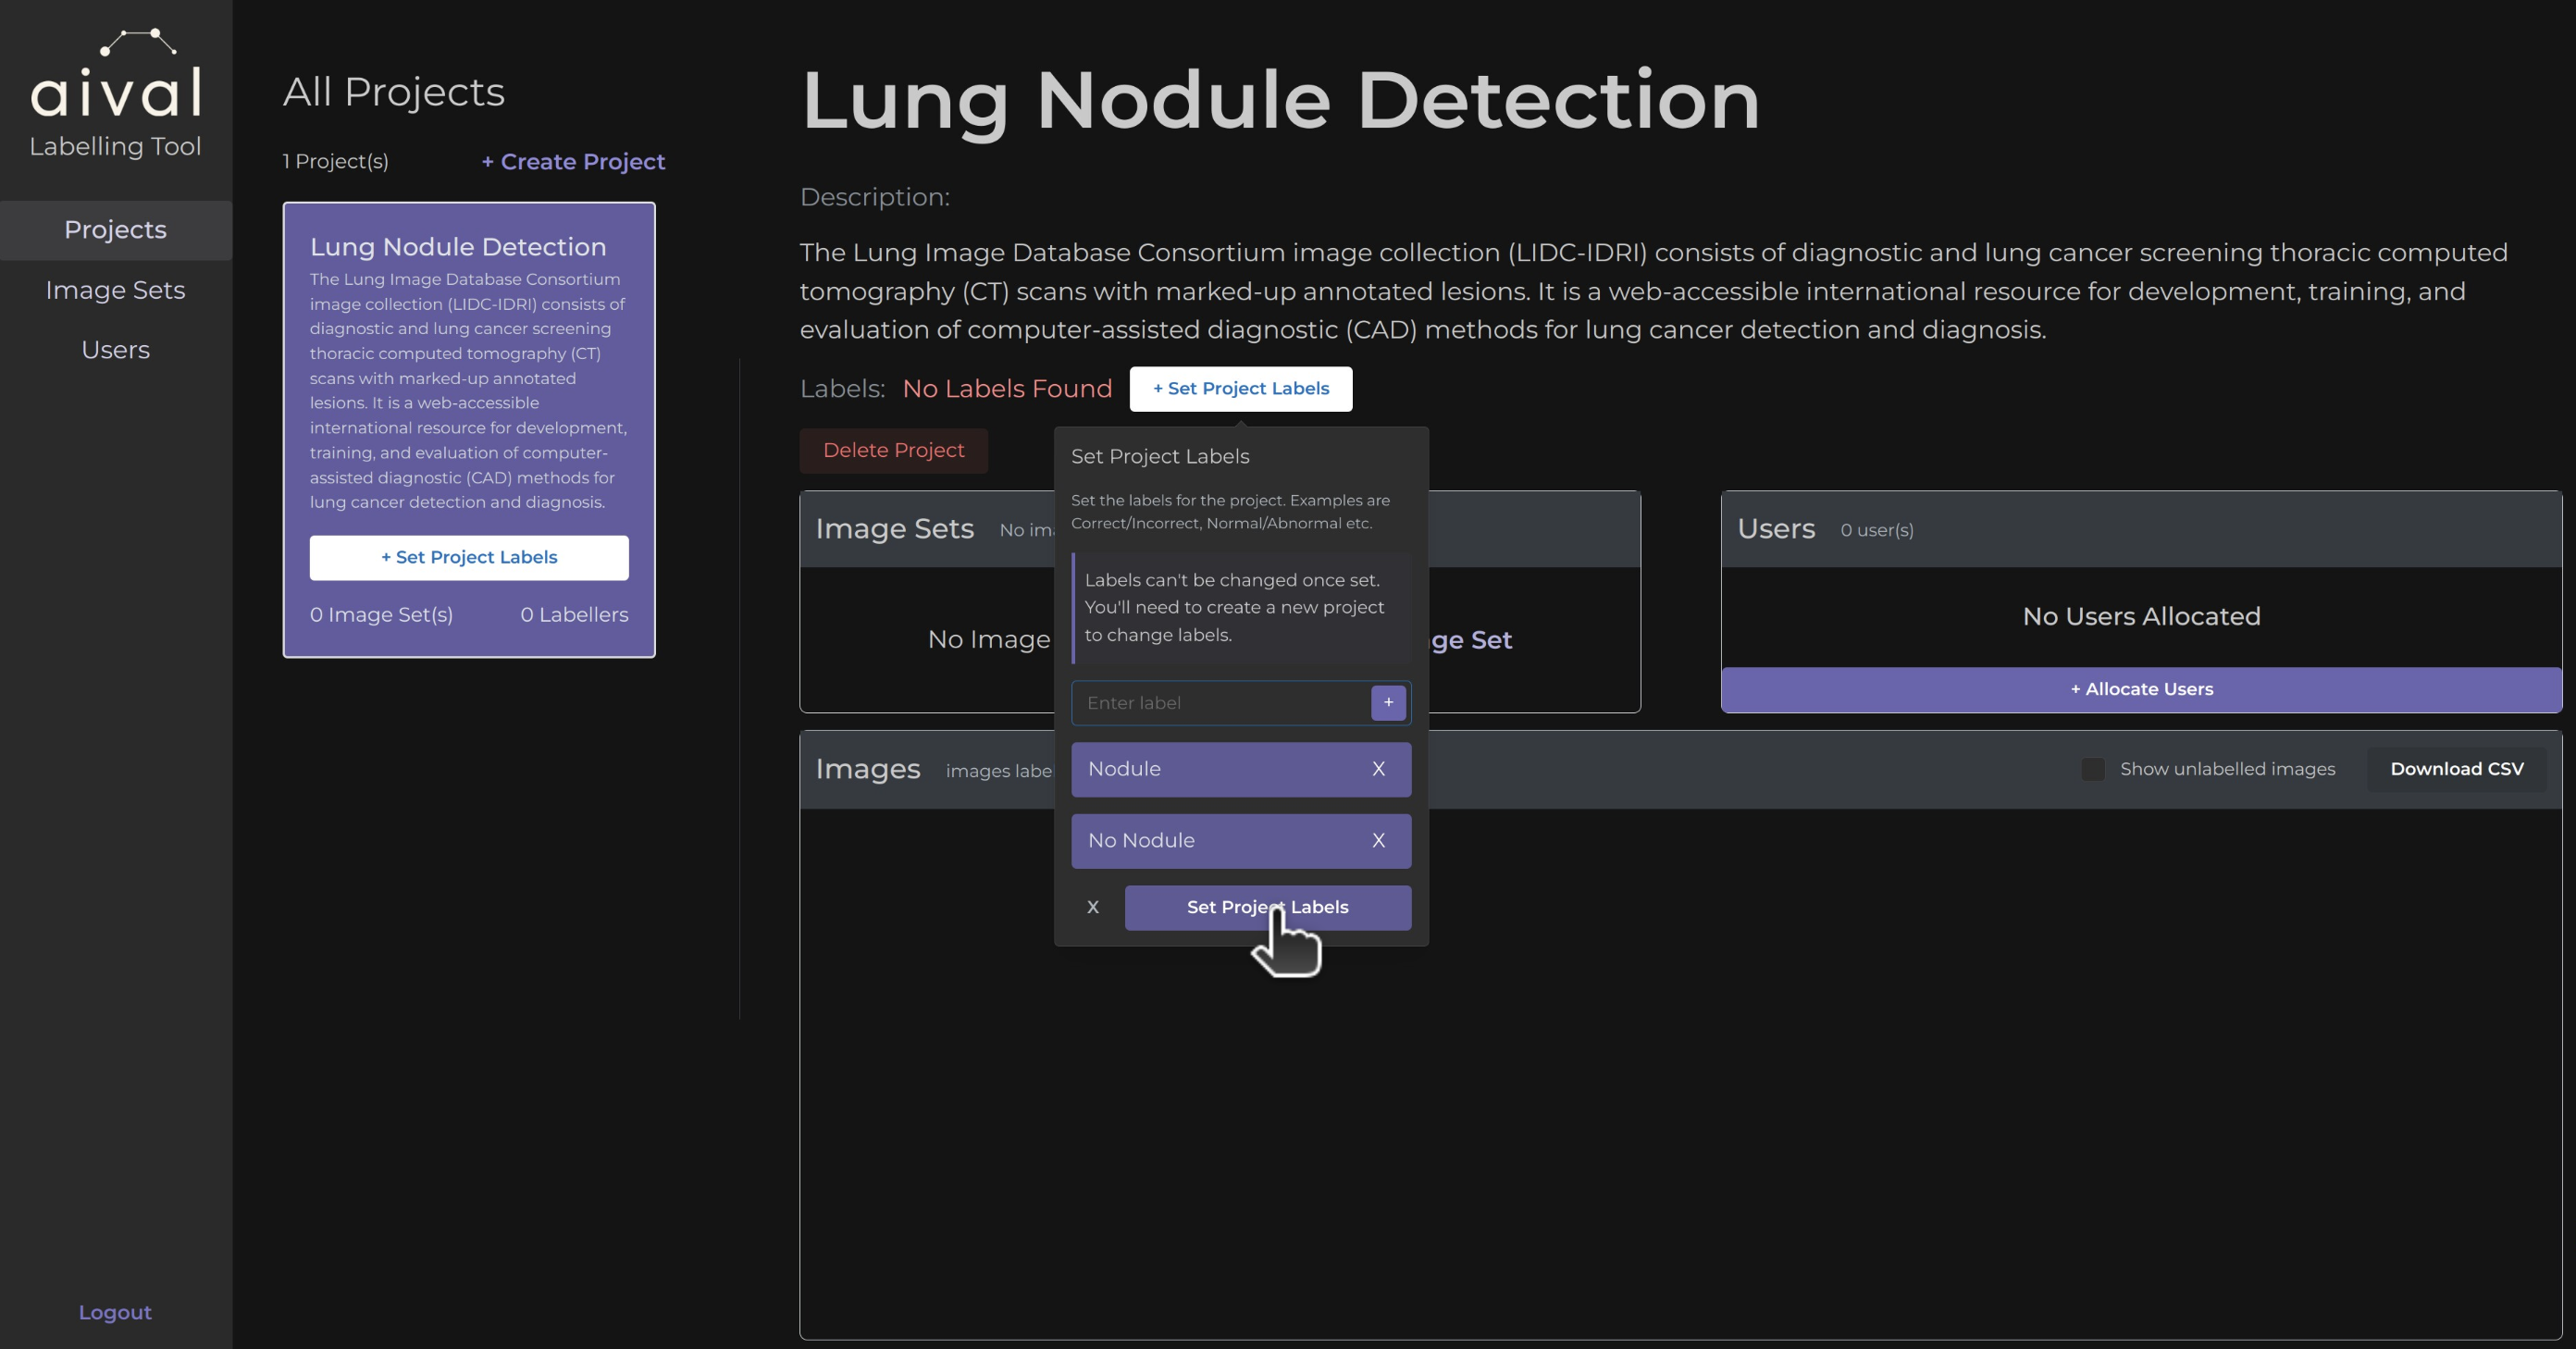
Next, I will configure the labels for the project. These labels will serve as categories that annotators can assign to images contributed to this project. A minimum of two labels need to be added. I will assign a 'Nodule' label to indicate that there exists at least one nodule in the image as well as a 'No Nodule' label.
Creating an Image Set for a Project
After clicking on 'Set Project Labels' for the project, I will add an image set to the project. At least one image set is needed for a project. An image set is a folder that contains images I would like to use in a project. Once I've clicked on the 'Create an Image set' button, this will send us to the Image Set tab, where I can add my dataset. See more on how to add image sets here.
For this tutorial, I will add an image set through the project page, by clicking on 'Allocate Image Sets'. I will add an LIDC-IDRI dataset for my lung nodule detection project, by clicking on the 'Add New Image Set' button on the Image Set page. A pop up will appear and I will need to add a title for the image set, any descriptions that are useful and then the location of where this dataset is located on your local machine. Please note there are input dataset requirements and those can be found on this page.
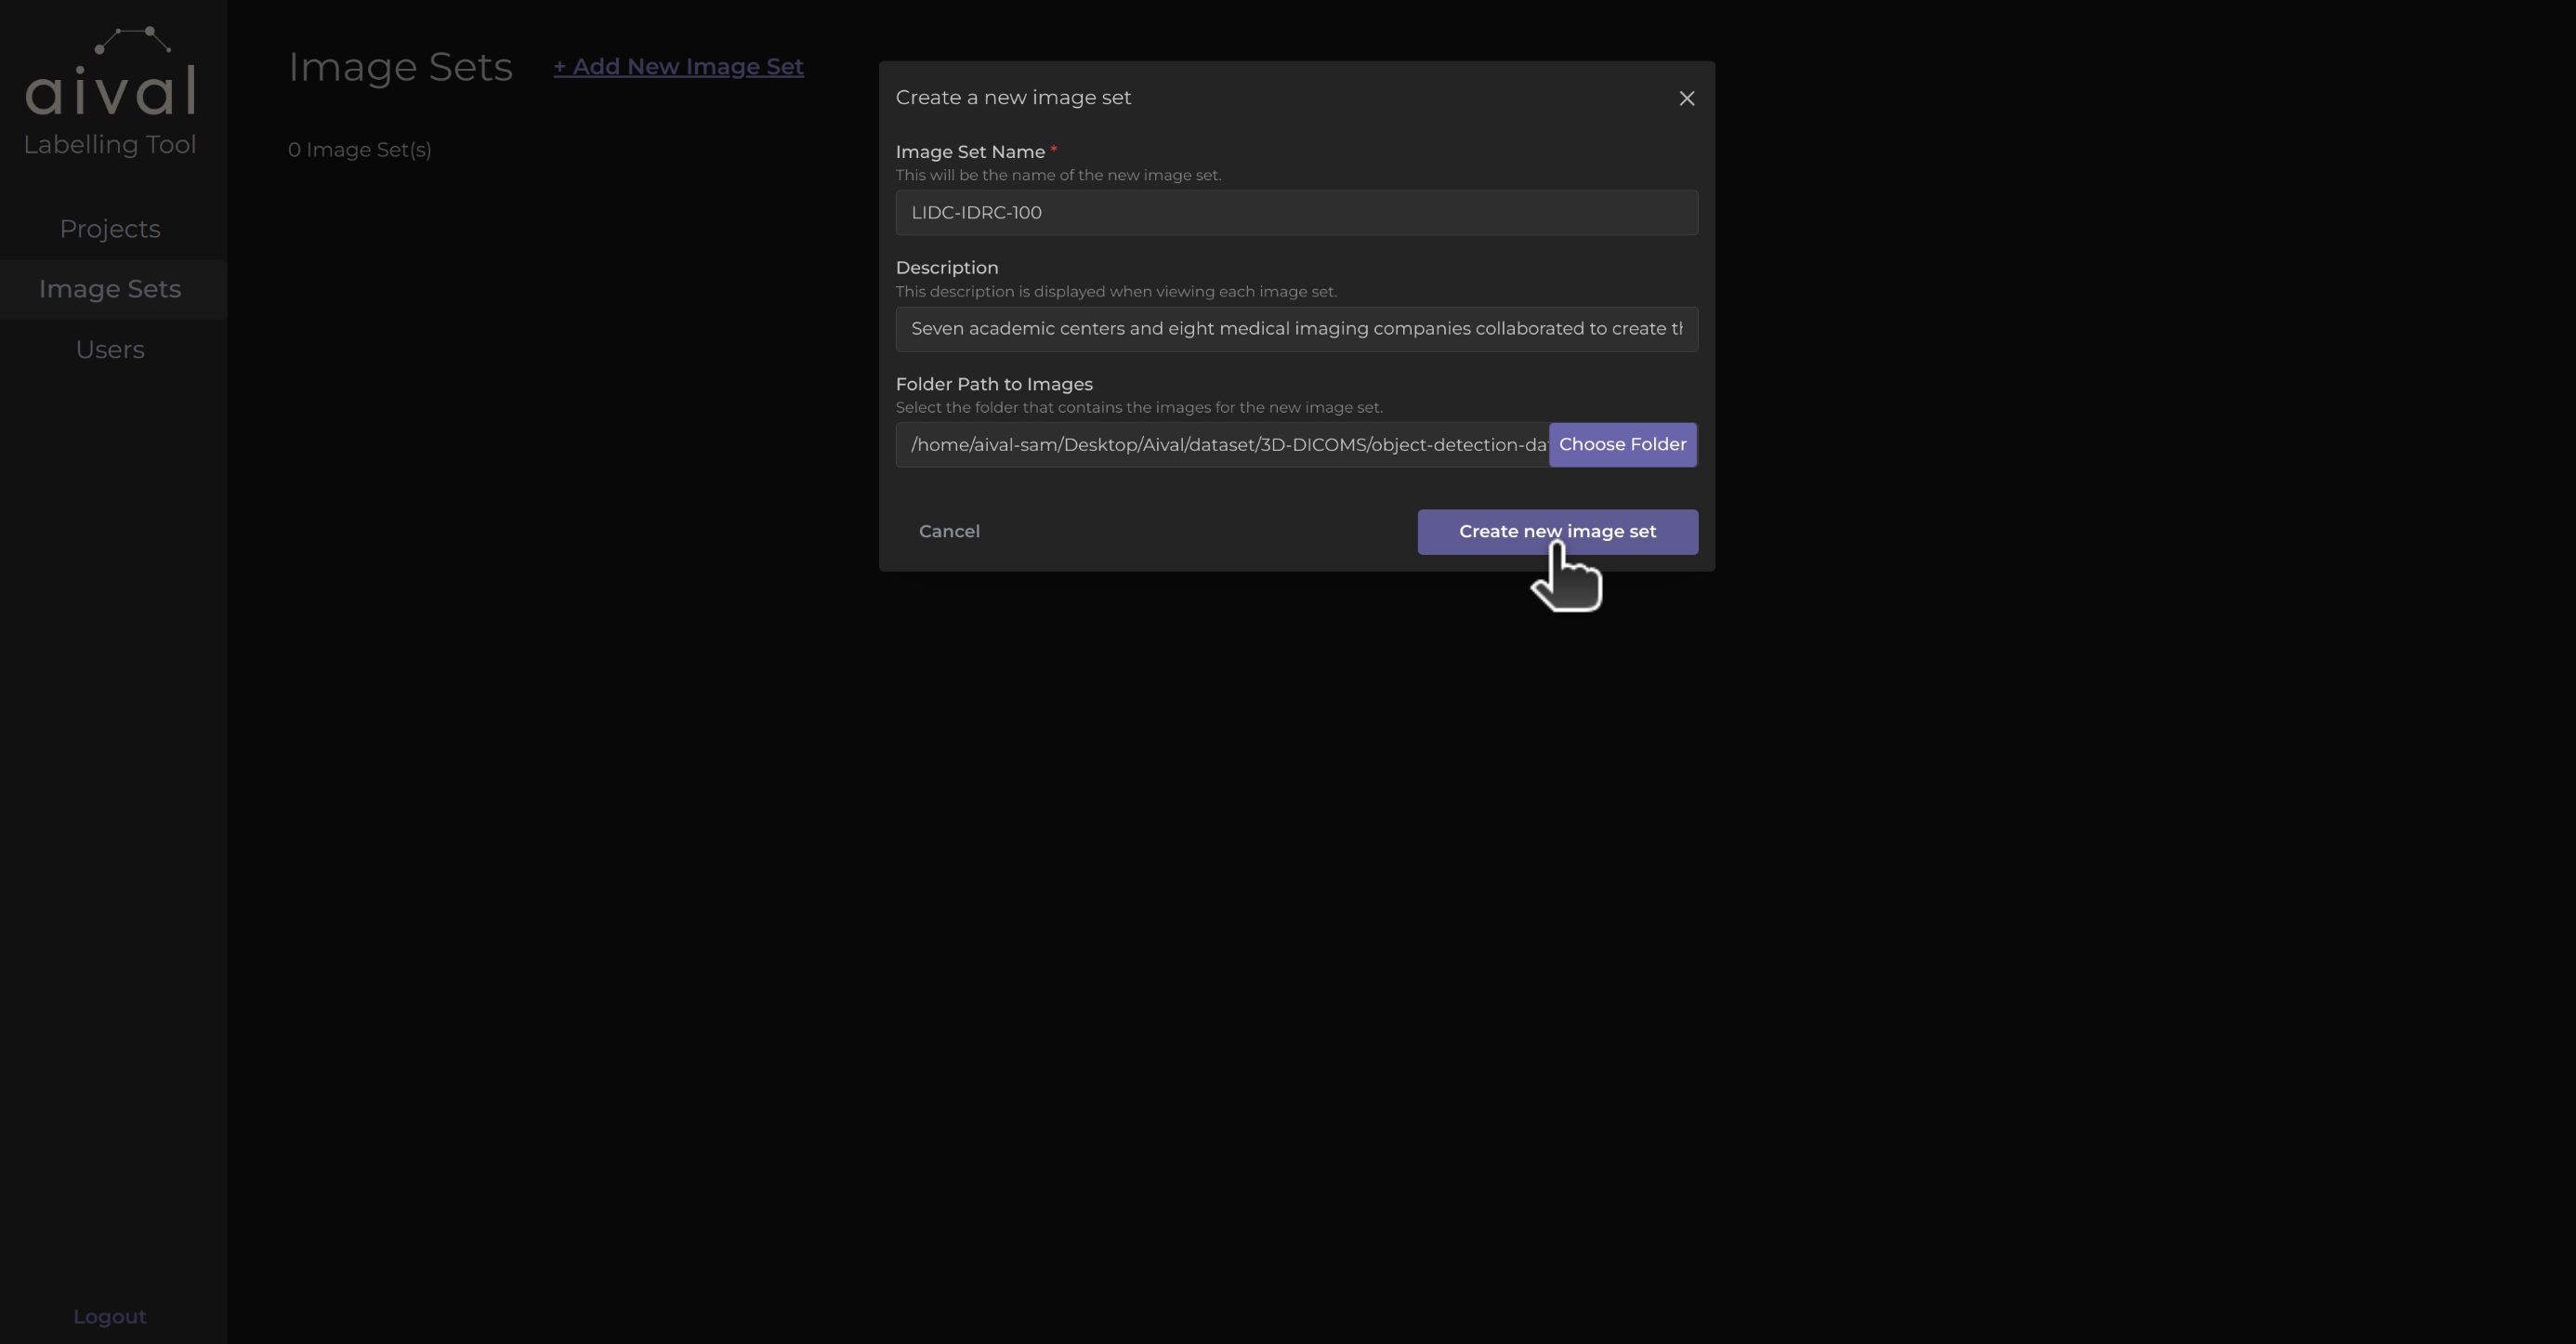
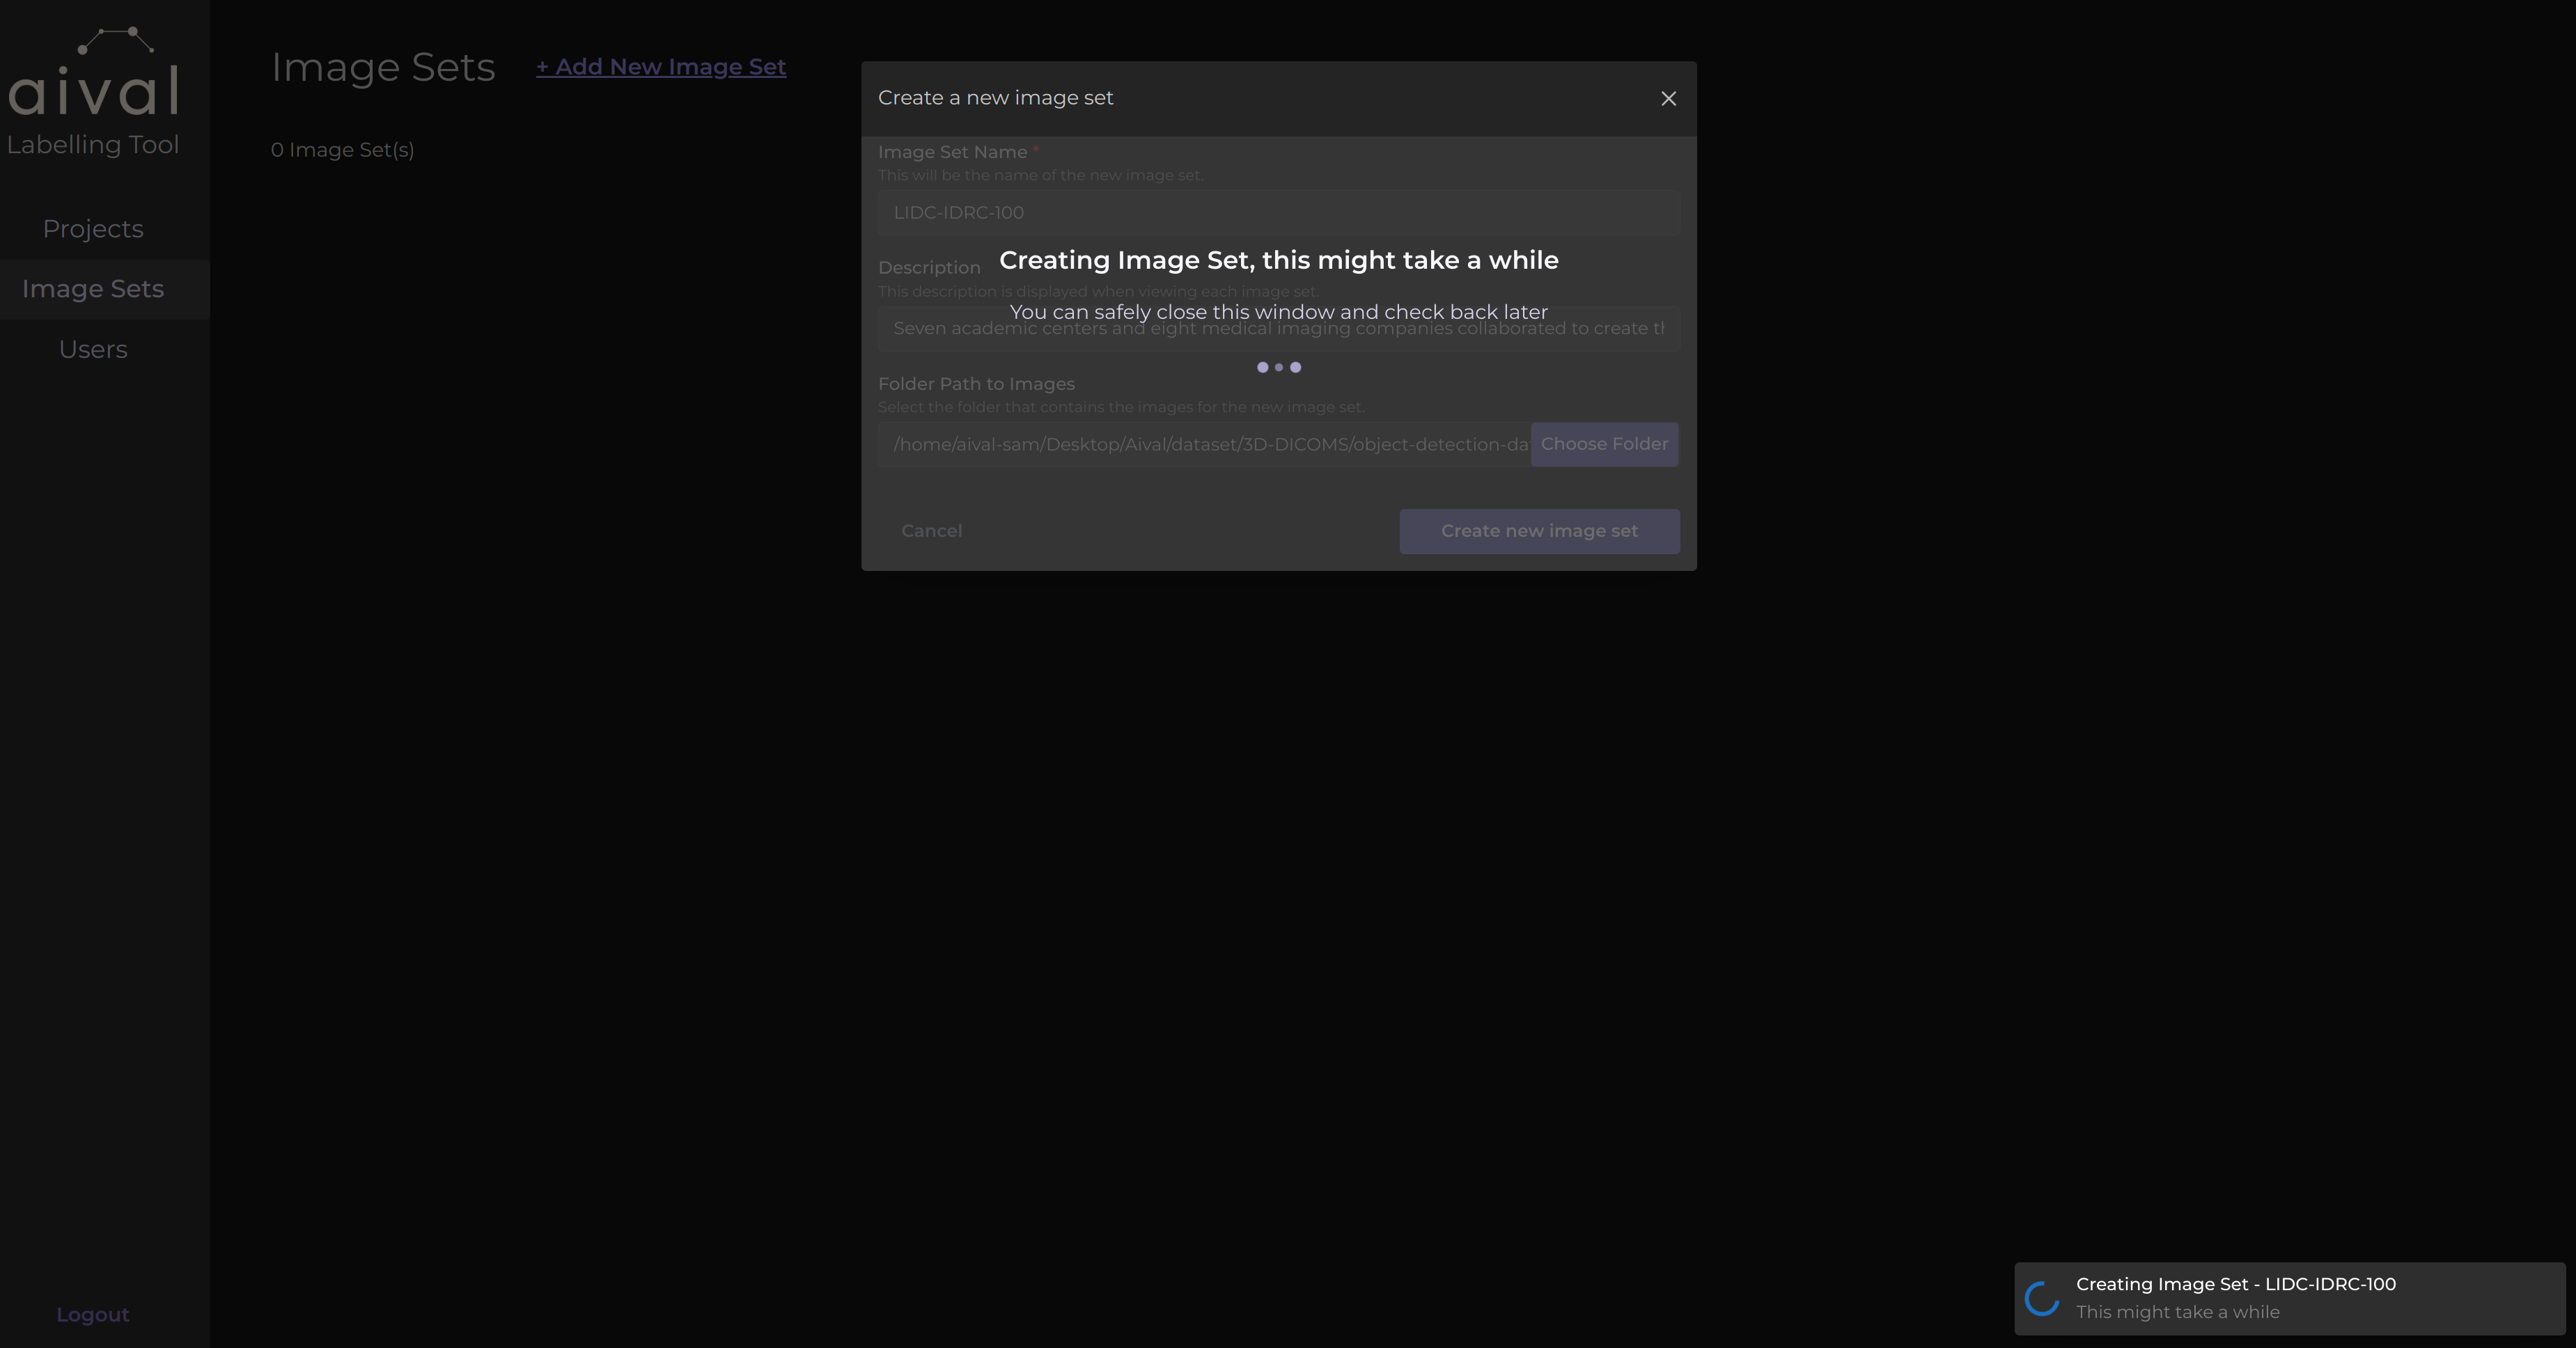
After clicking on the 'Create new image set' button a pop up will appear, depending on how big your dataset is this can take some time. However, I can exit the pop up by clicking on the 'X' in the top corner of this box. Once the image set is uploaded it will appear with its title in the image set records.
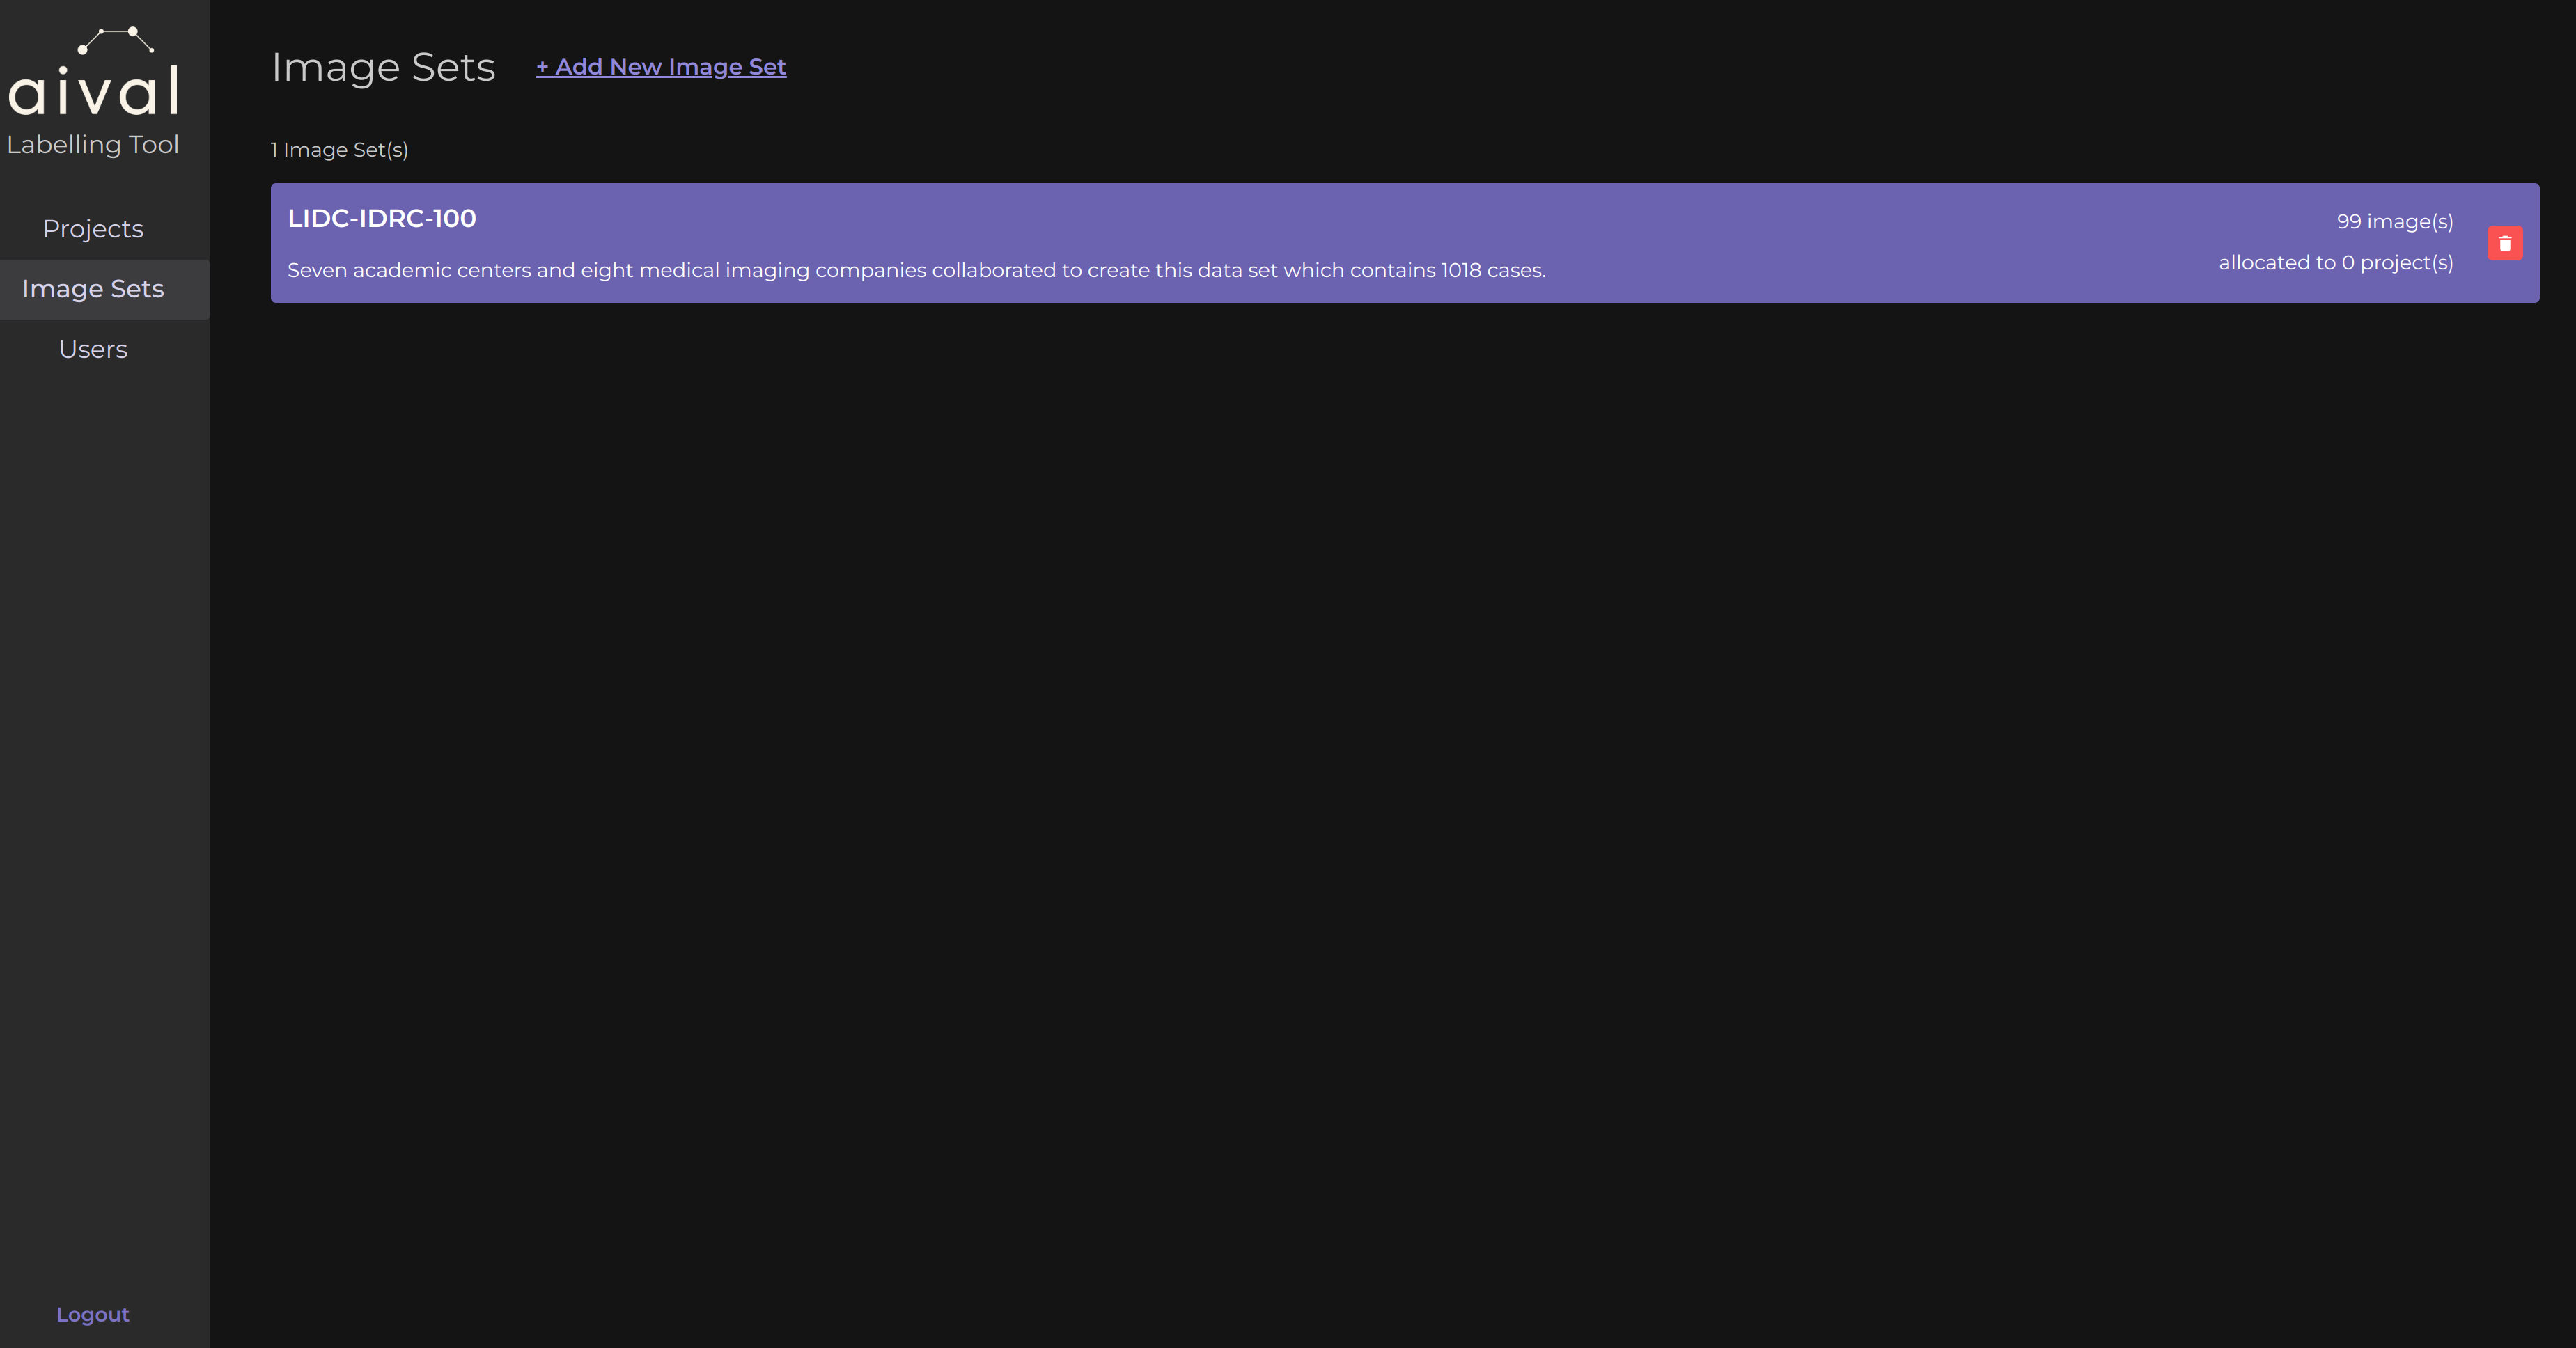
Once the image set has been successfully added to the image set records, it will appear like in the illustrated image below.
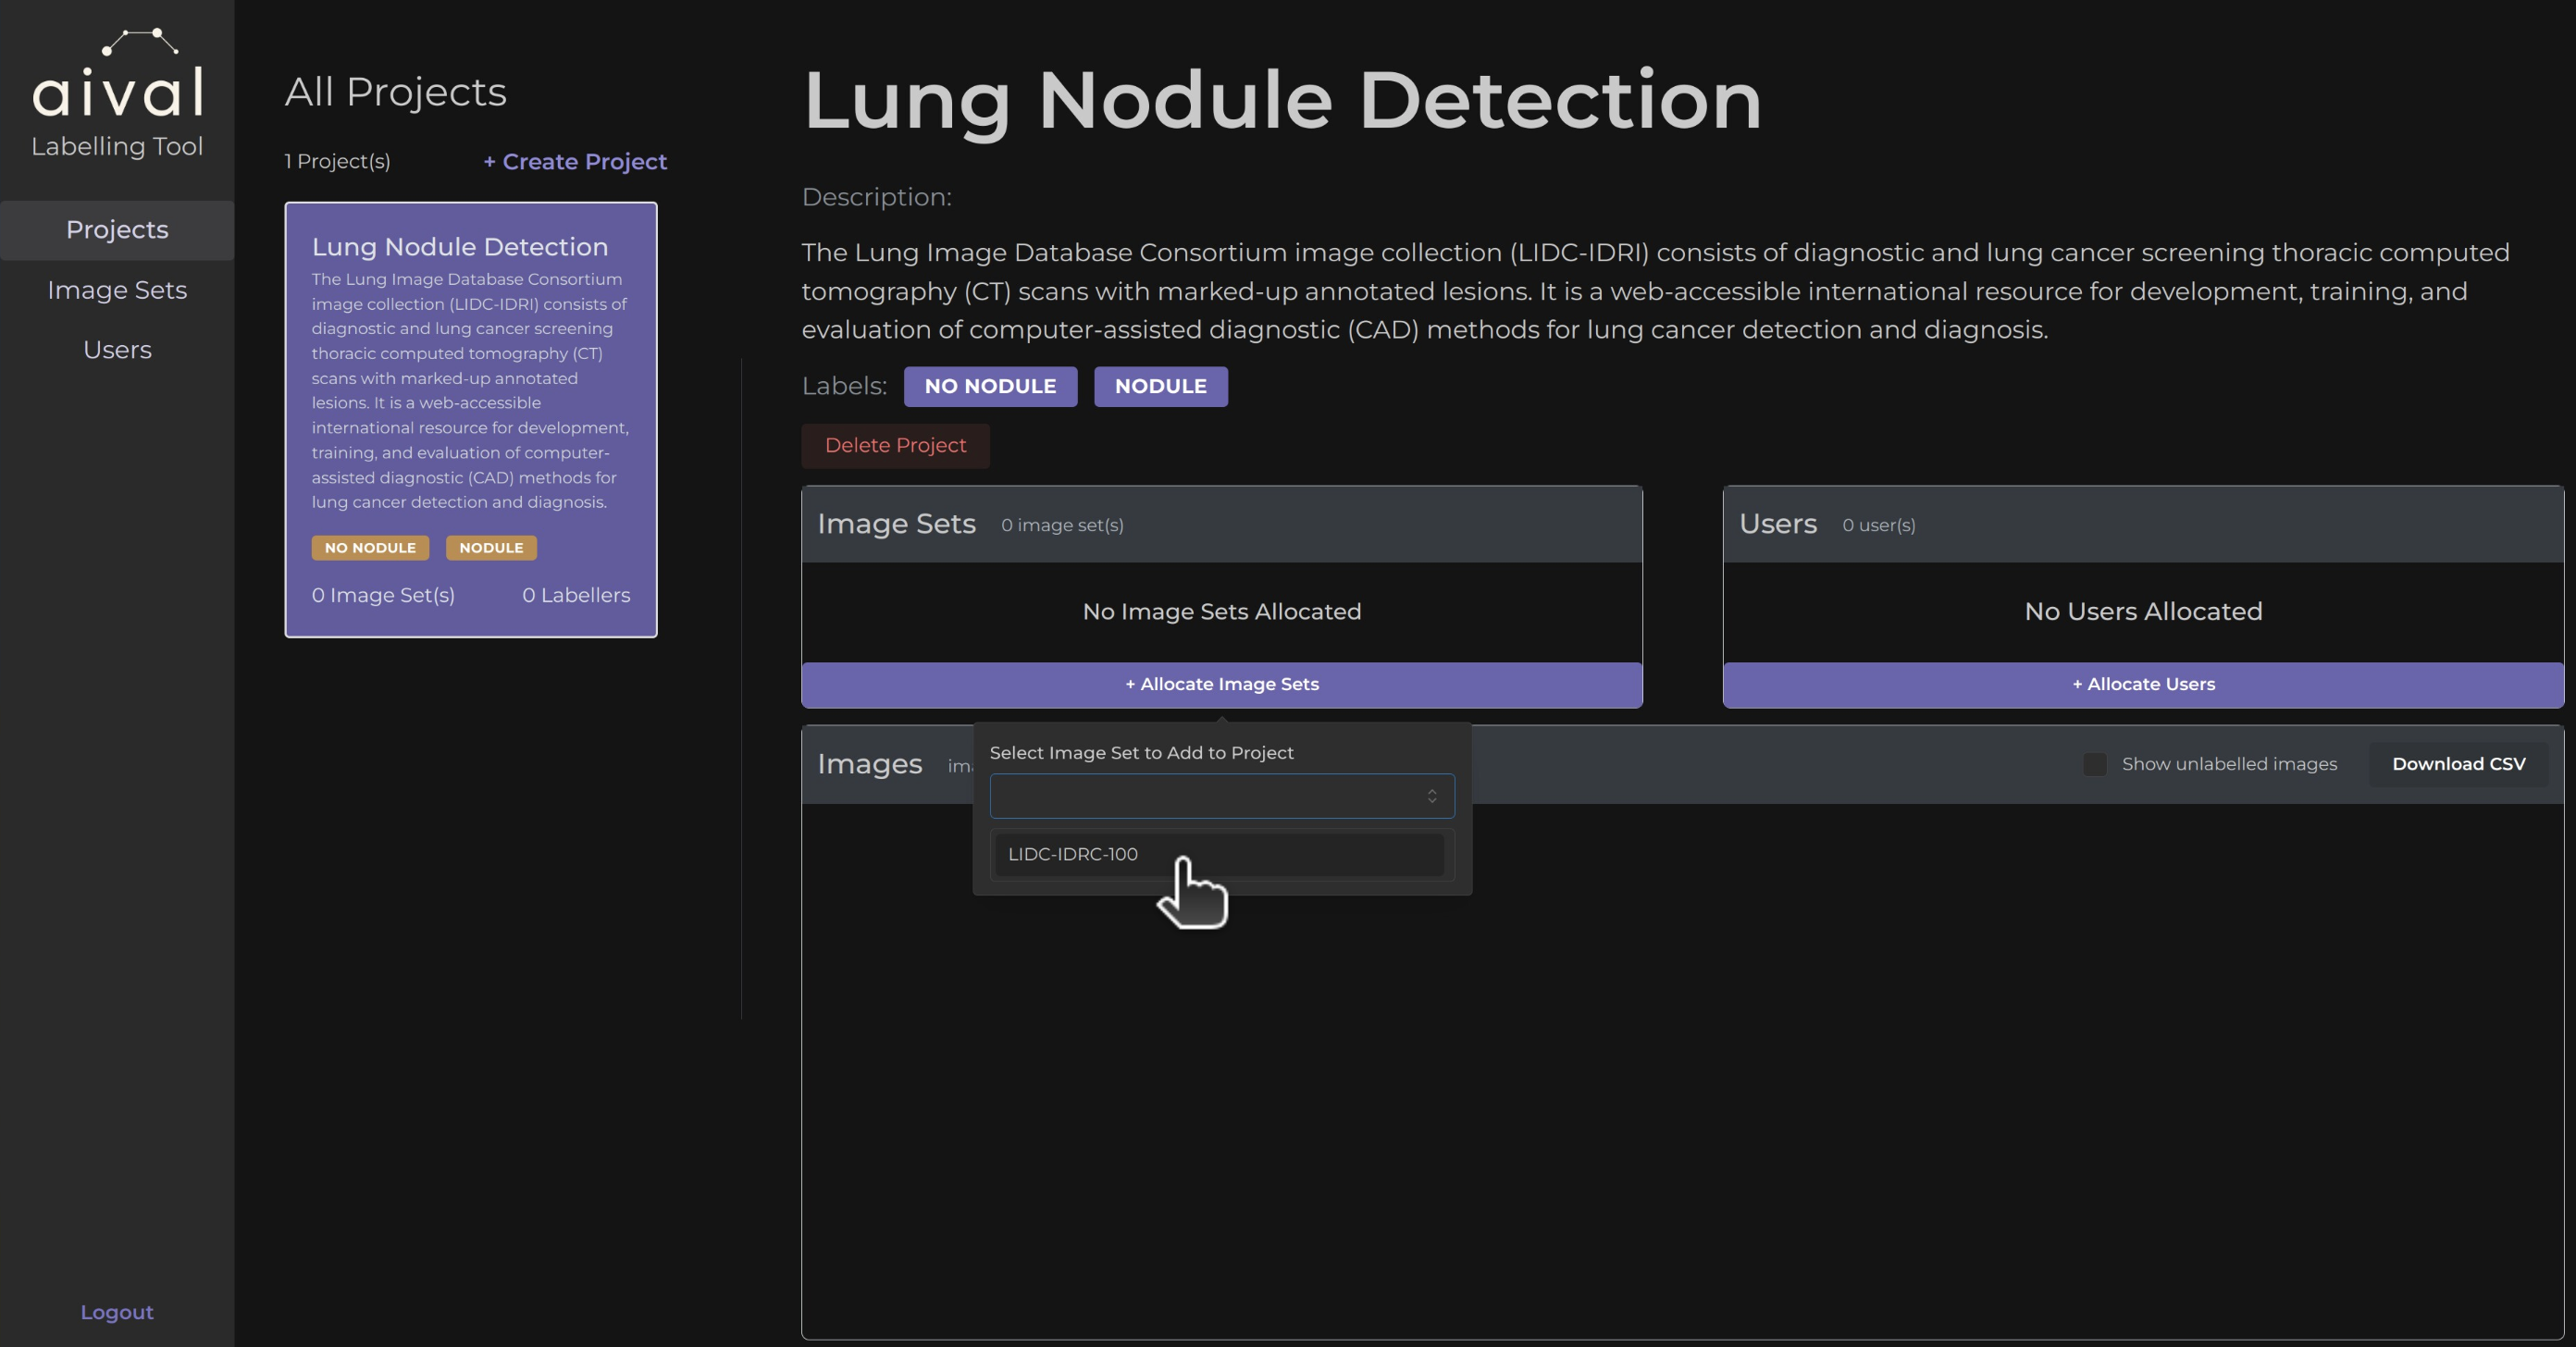
Once an image set has been successfully added you can go back to your project by clicking on the Project Tab. Then I can now add this image set to this project by clicking on the 'Allocate Image Sets', I will add my LIDC-IDRI dataset for my lung nodule detection project.
If the image set is supported by our product then the image sets allocated will fill up the project overview table with instances from the uploaded image set. As an administrator this table is where you would be able to view when images for this project have been labelled and by whom.
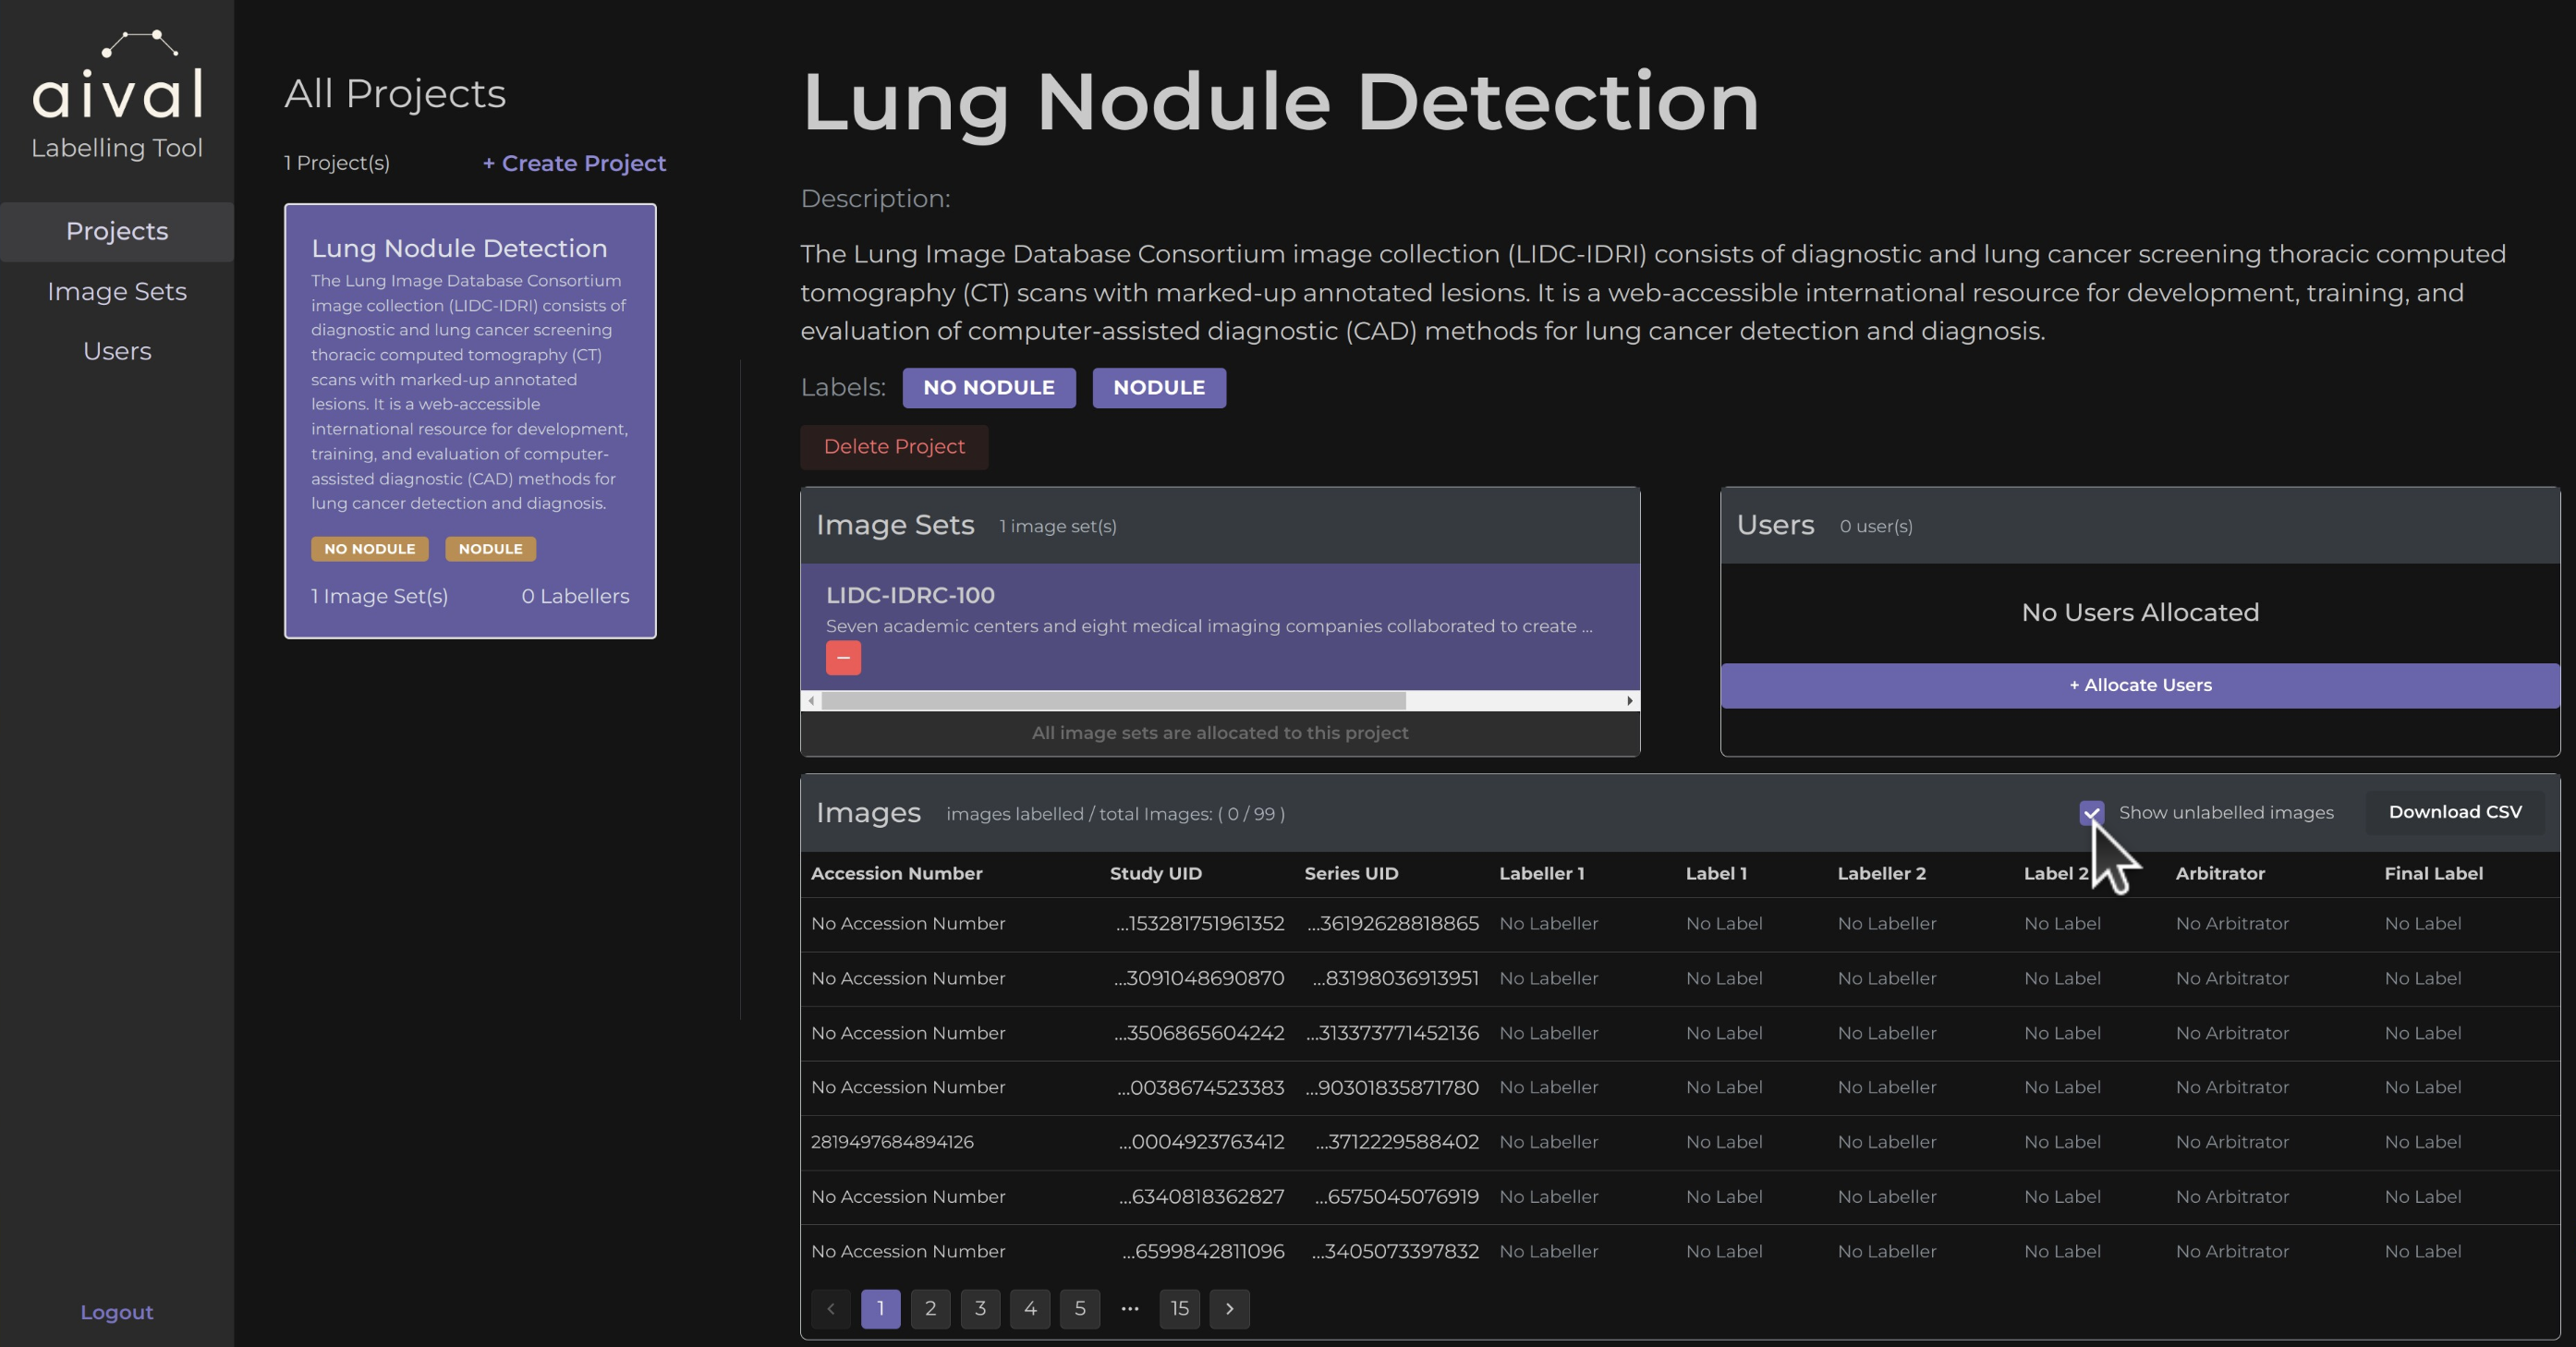
This table will contain the Accession Number, Study UID, Series UID and Labels by each labeller, including the indication of the arbitrator label.
Creating Users to be Added to Projects
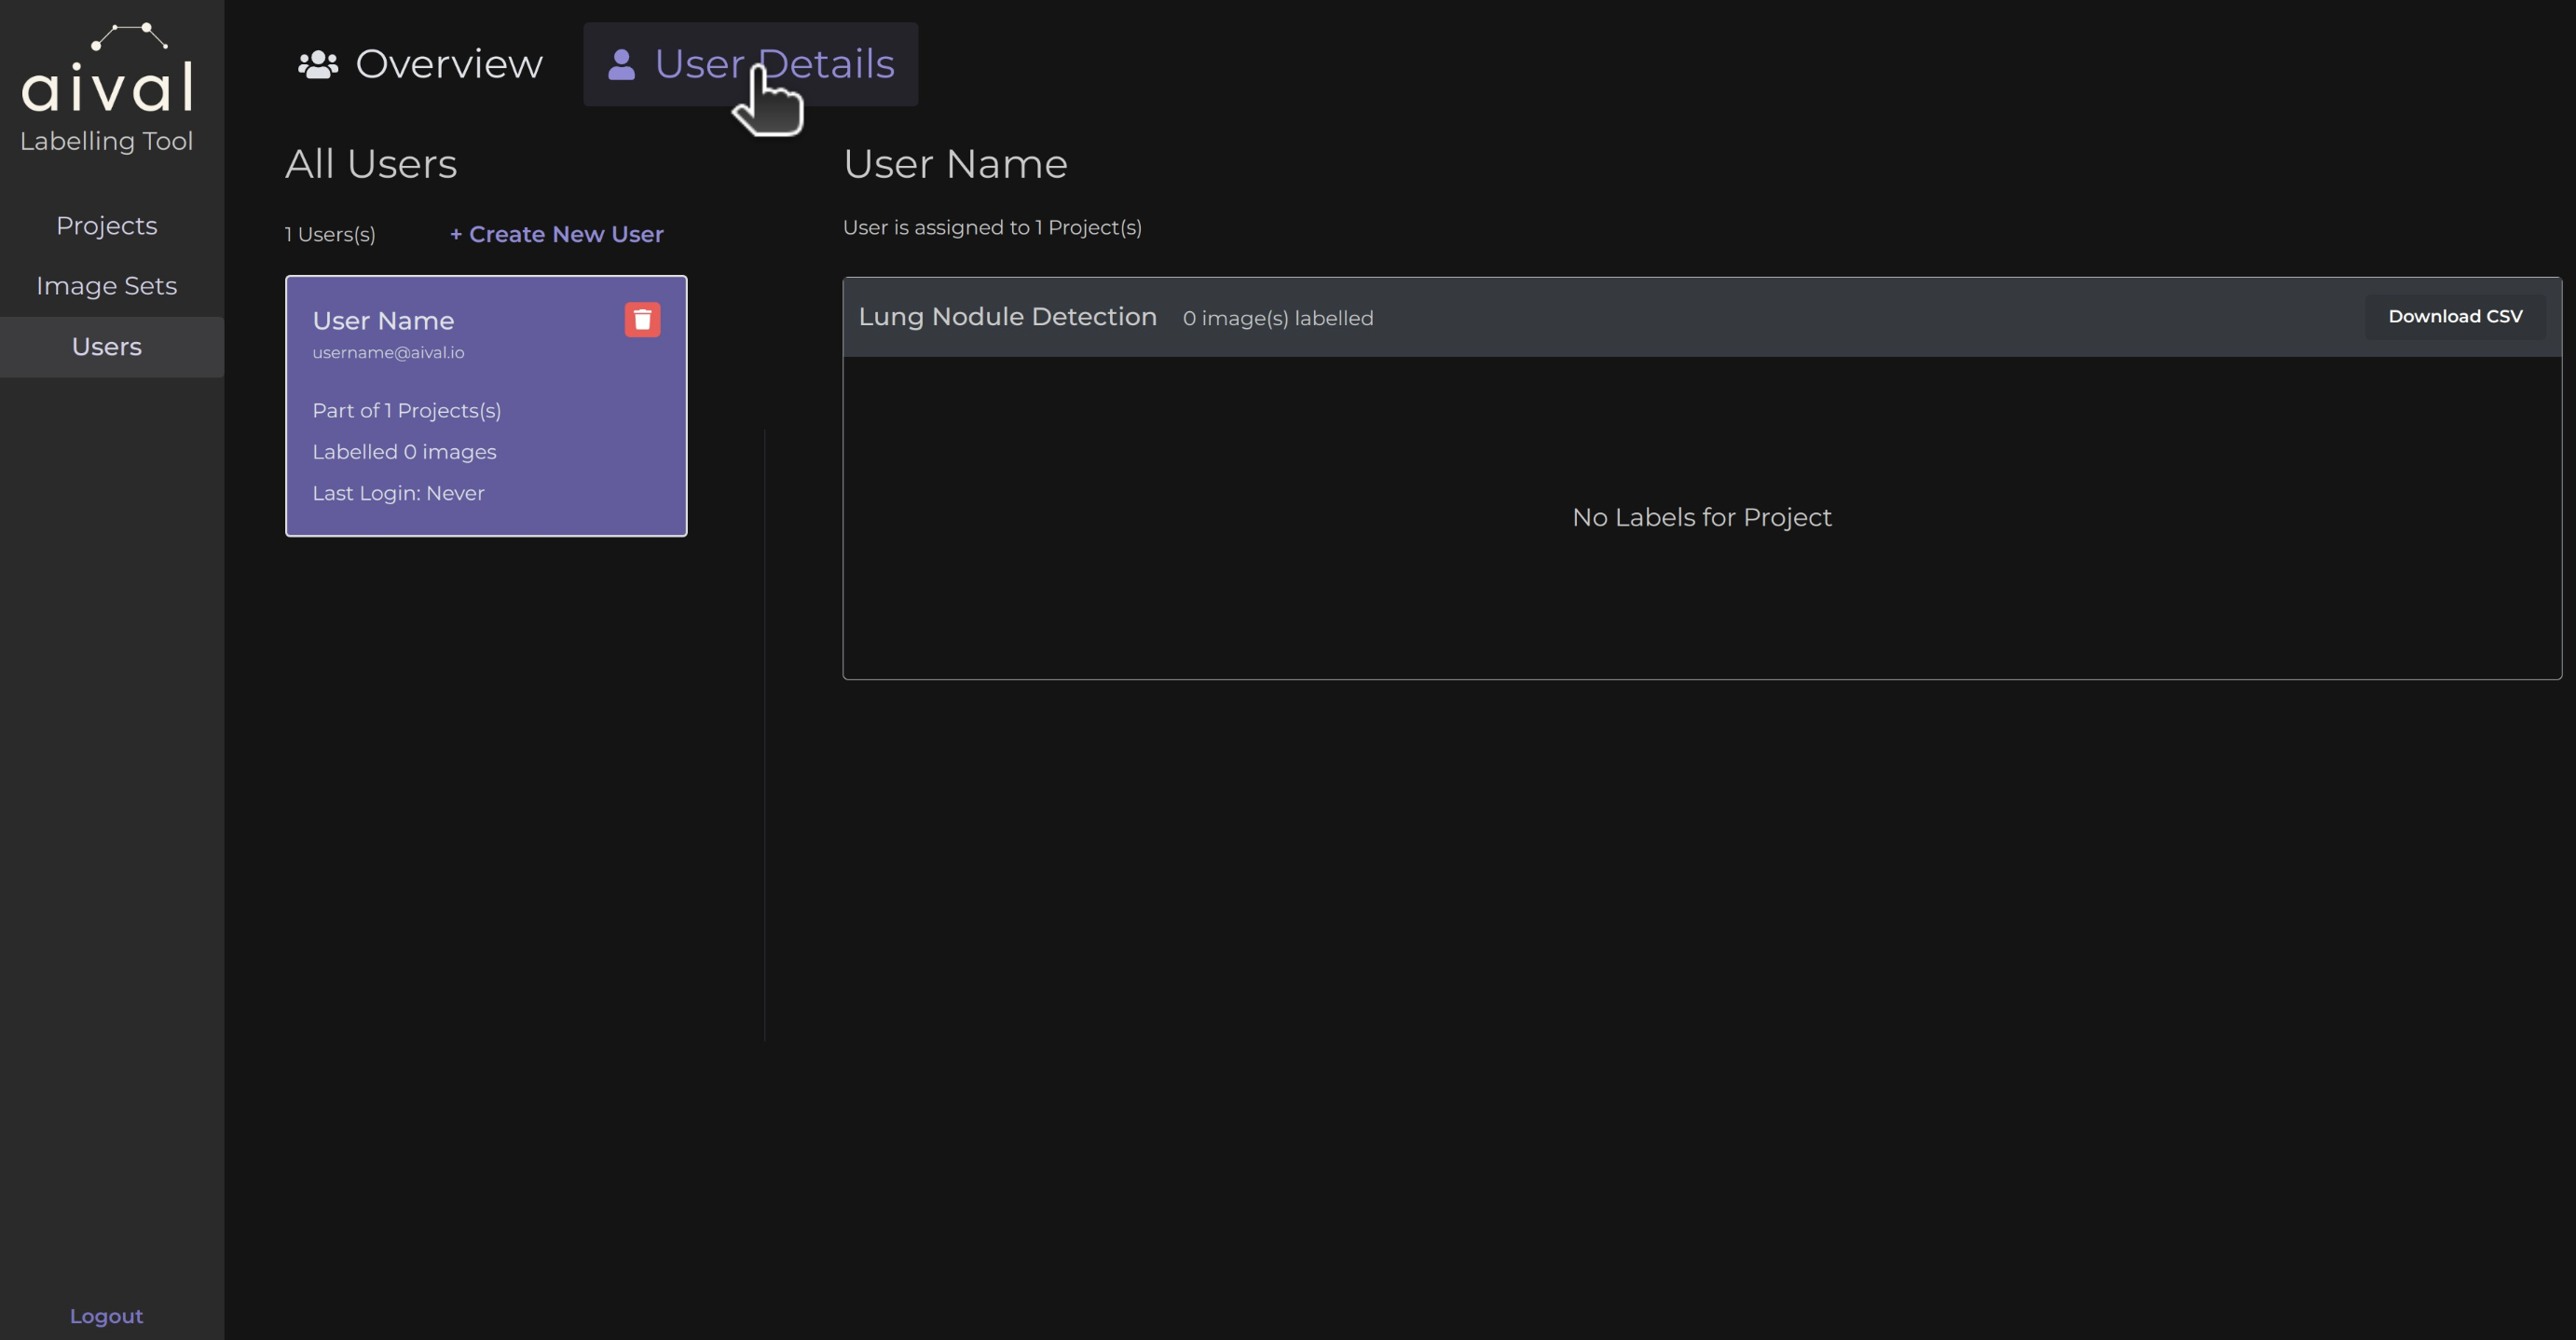
The remaining task is to create users, so that we can allocate the images of this project to specific labellers. To do this I will click on the 'Create New Labeller User' on the home page of the selected project. This will then send us the 'Users' tab automatically, where I will be able to create users that can then be added to certain projects as administrators see fit. For this example I will create a new user, by clicking on 'Create New User' the following pop will appear.
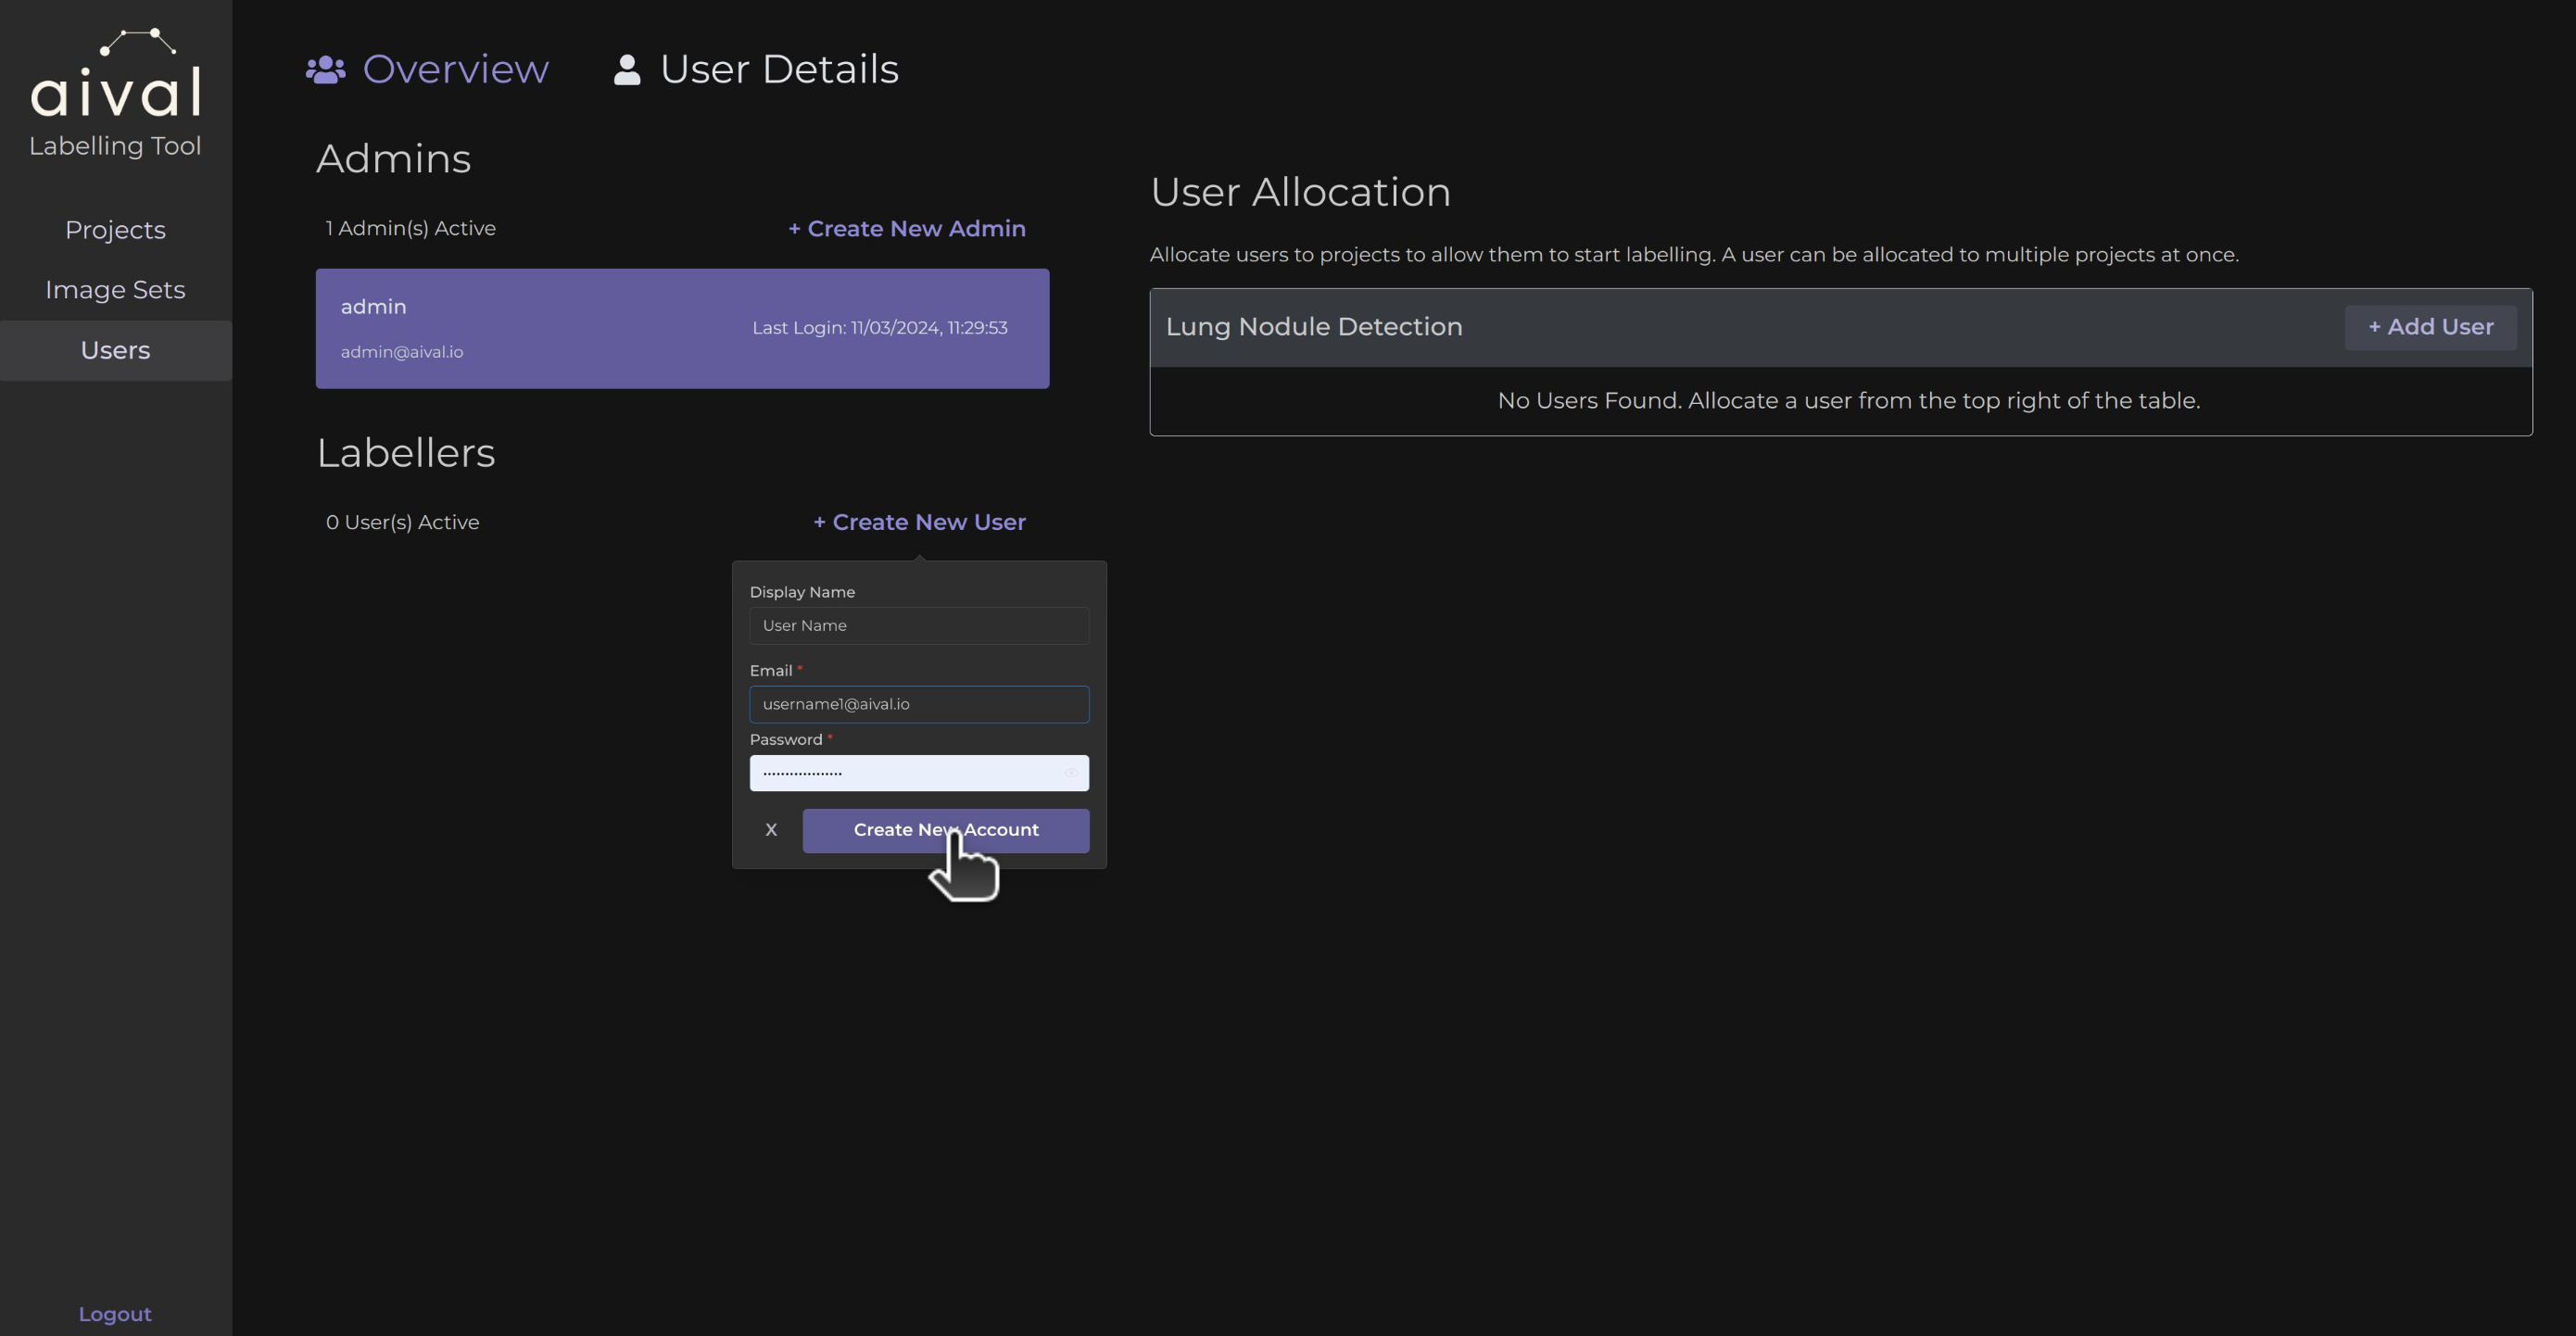
I have gone ahead and filled my user with their name, email address that they will use to login and their password that they will need to login to see what projects they get assigned to.
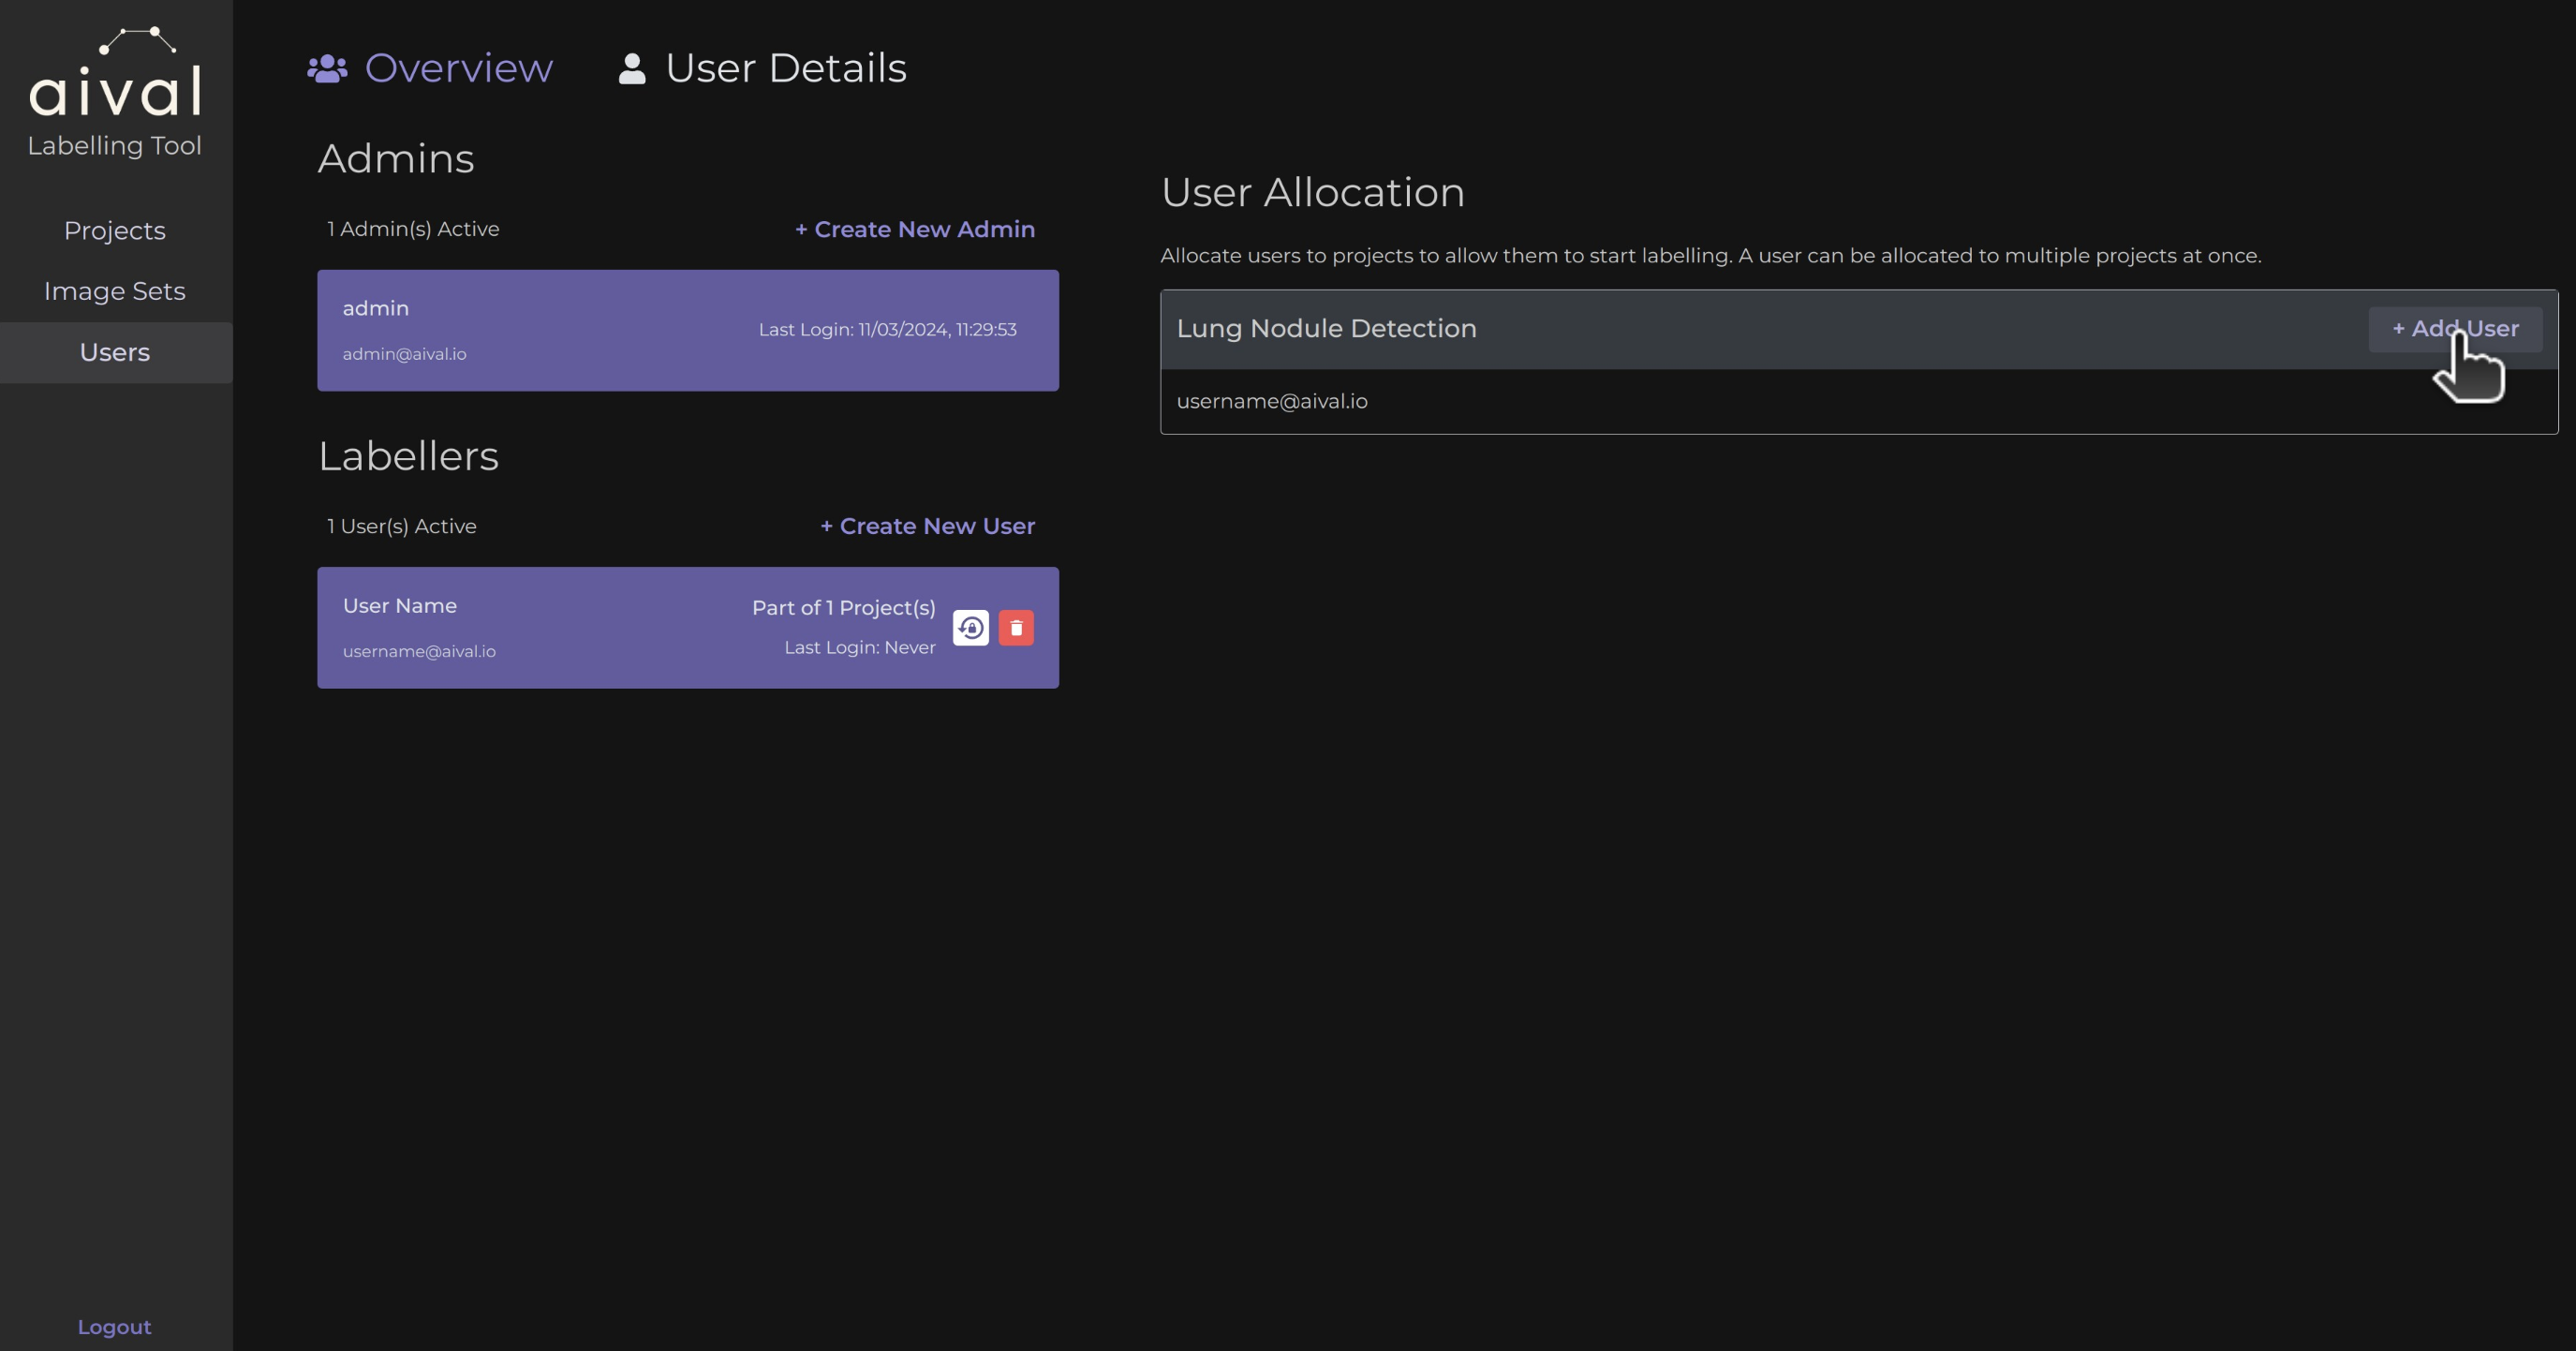
Once a project has been added it will appear on the right under 'User Allocation'. To add the user you have just created to a project, you will have to click on the 'Add User' button for the project and select the name of the user. After this has been completed, the name of the added user will appear under the project.
