Labelling a Project as a Labeller
To label a project as a Labeller consider this detailed step-by-step guide:
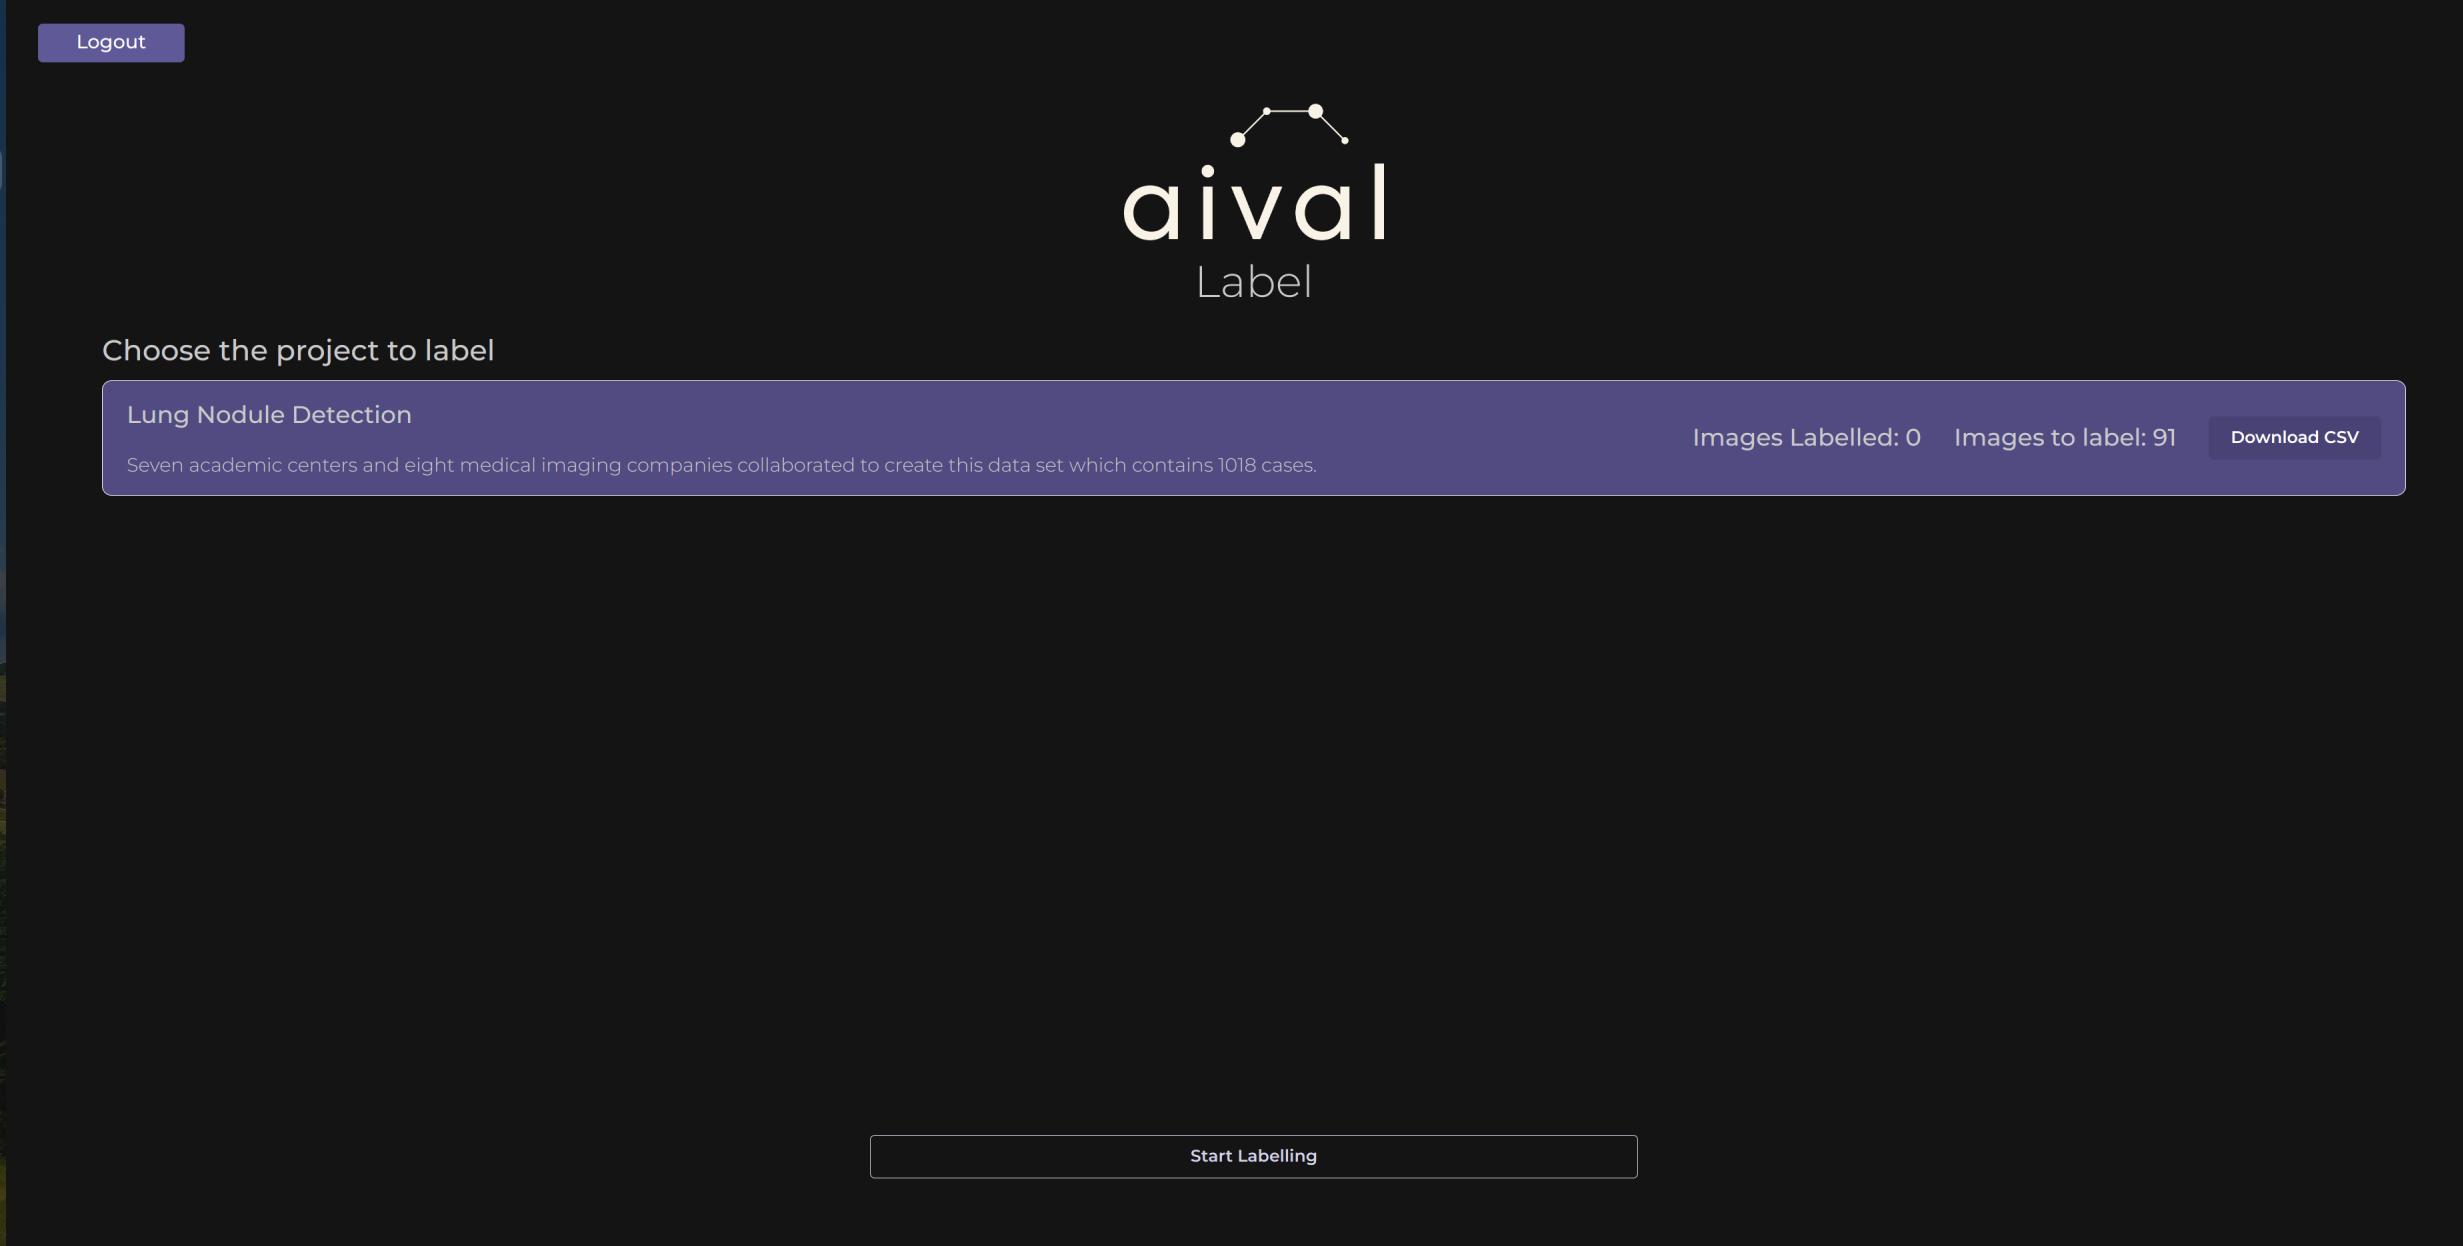
Home Page Navigation: Once you have logged into your labelling account, you will be presented with the labeller project home page. This page will be where all the projects for a labeller will be listed.
Selecting Your Project: Identify and click on the project you intend to work on. This could be based on priority, due date, or personal preference.

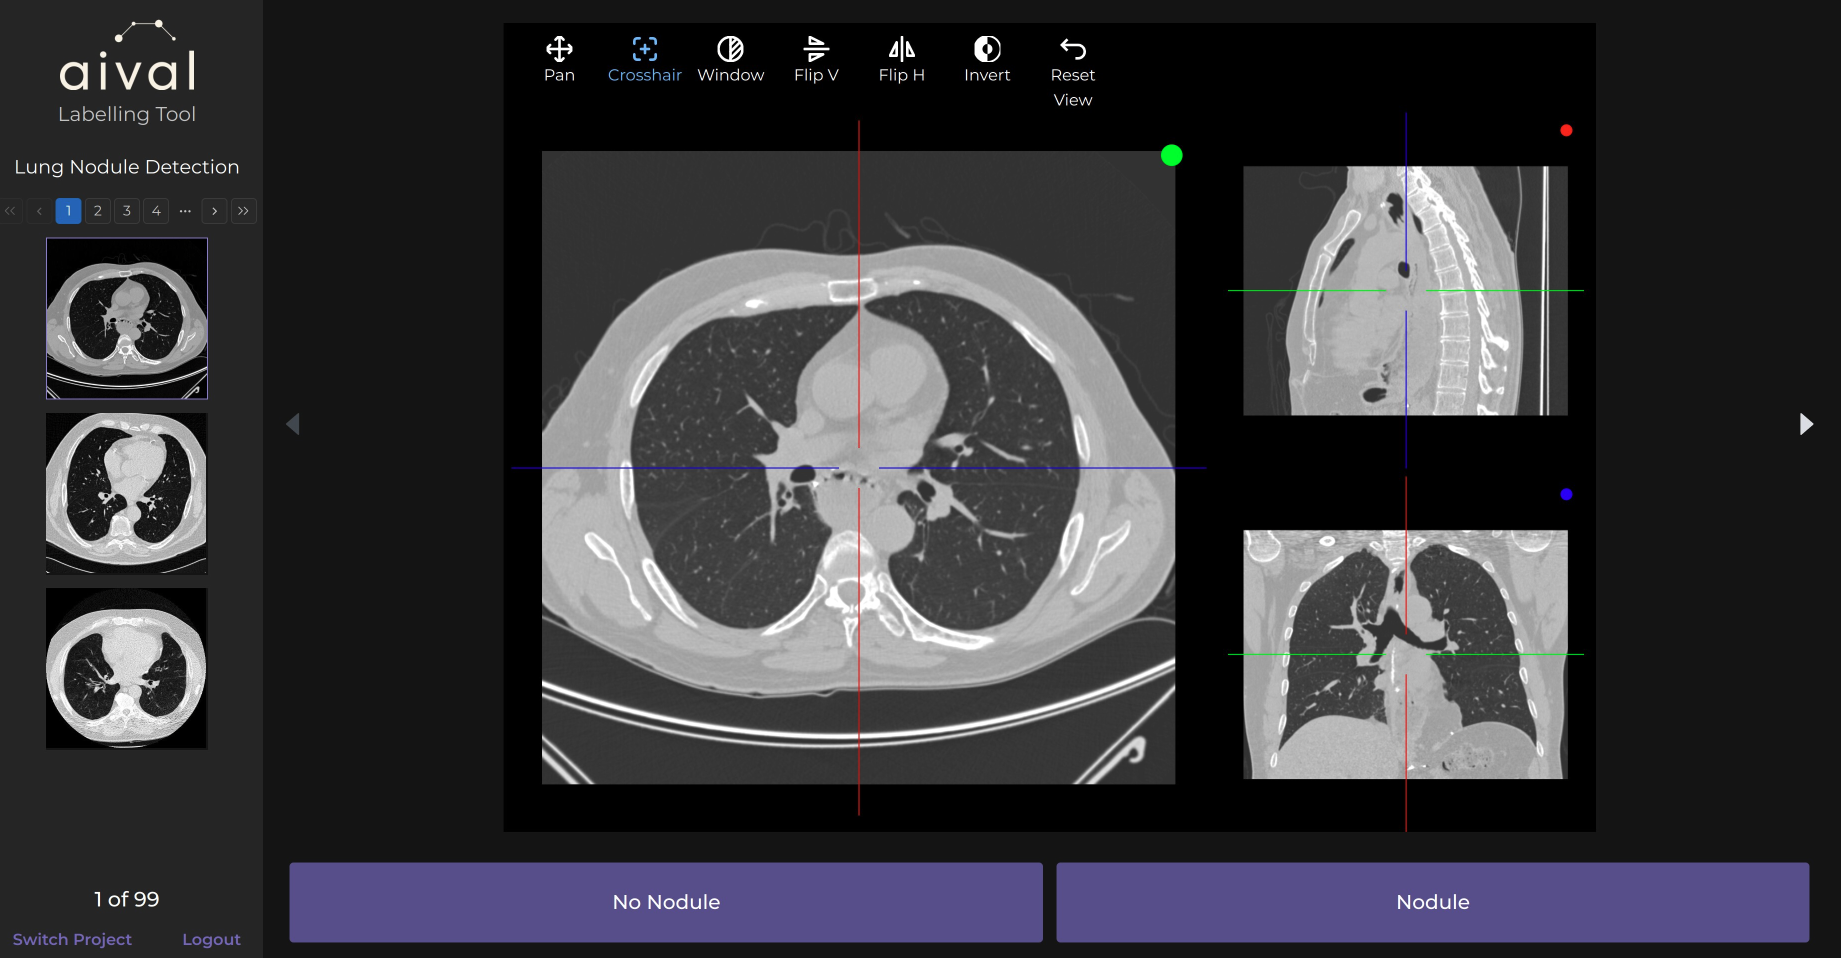
Accessing the Imaging Viewer : Enter the imaging viewer by clicking on the project link. The viewer is an interactive tool that allows you to inspect medical images closely. Depending on the project's requirements, you can view images in 2D or 3D formats. Utilise the viewer's features (like zoom, rotate, contrast or pan) to thoroughly examine each image before labelling. A more detailed guide to the tools can be viewed here.

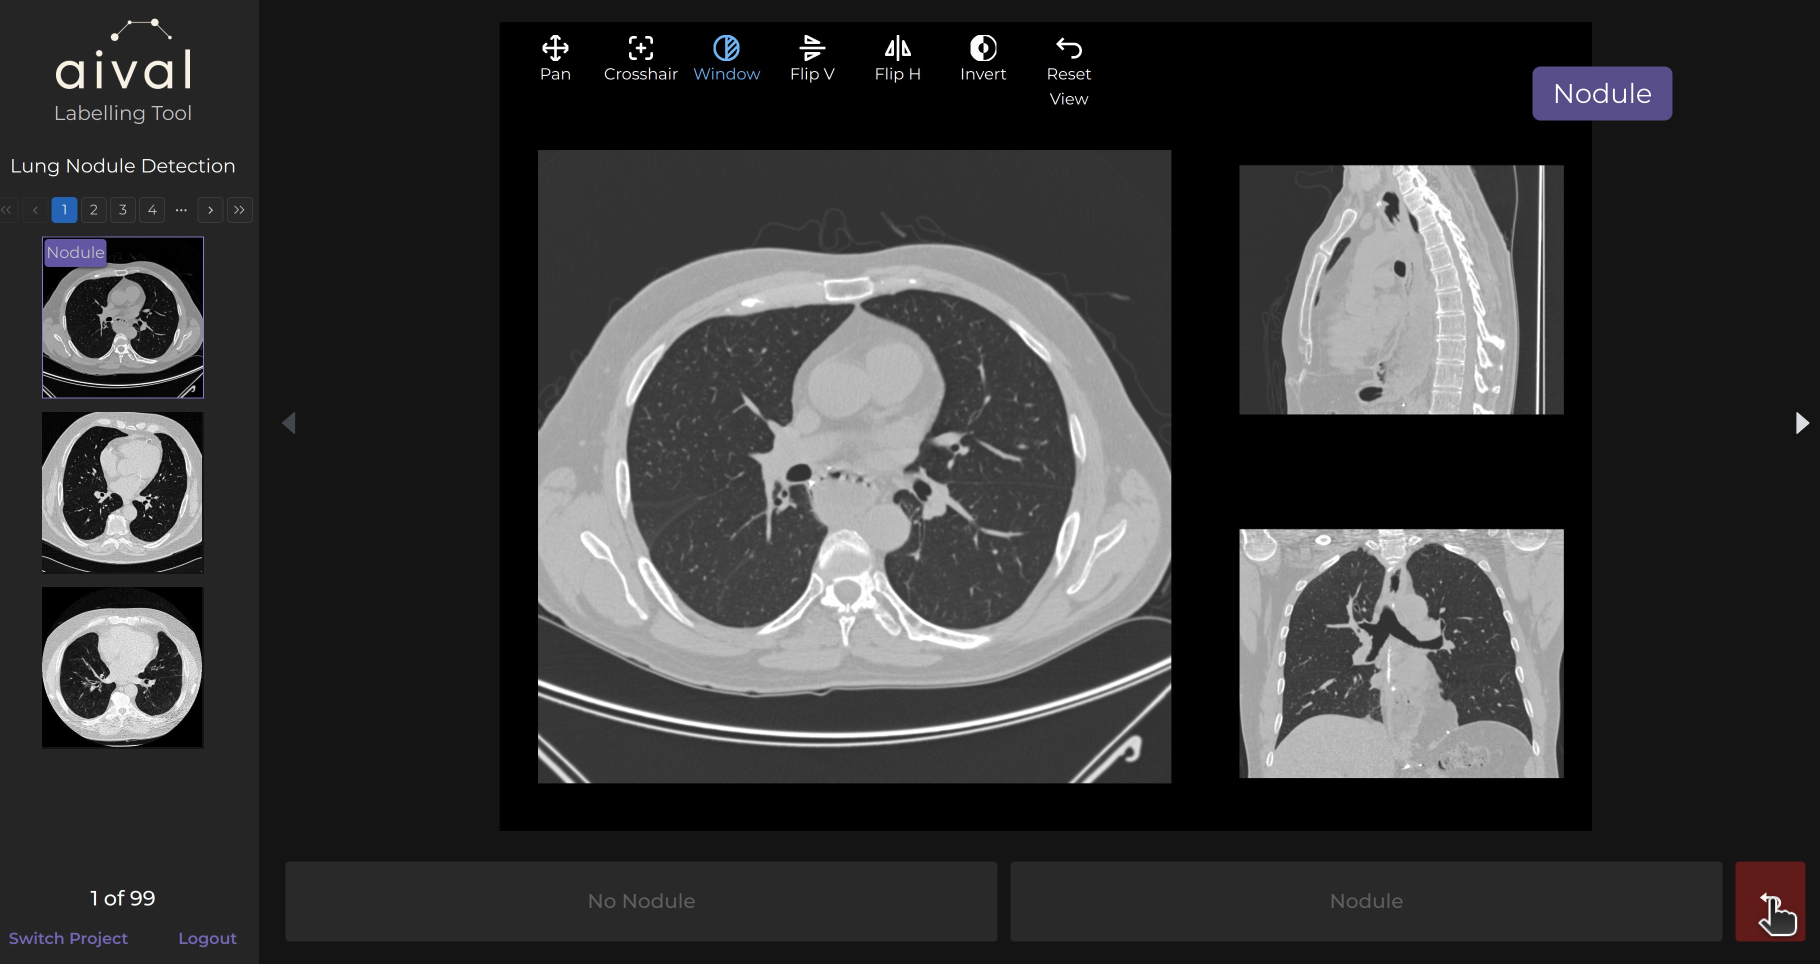
Labelling Process: Click on one of the labels that are assigned below each image, this will annotate it and a label will appear in the top right of the image.
Revising Labels: If you need to revise a label, navigate to the image you would like to review by using the image slider on the left hand side of the viewer. Select the image you wish to revise, and update the label as needed by clicking the arrow button beside the image labels.

Saving and Switching Projects: Your labelling progress is automatically saved, ensuring that you can pause or switch between projects without losing your work. This feature is particularly useful for managing workload or when multitasking between different projects.
Once you have completed your labelling task, ensure all the required images have been labelled and none remain. You may need to follow specific steps to formally submit your labelled images, depending on your organisation's requirements. By following these steps, you can download the results of the labelling in a CSV format.